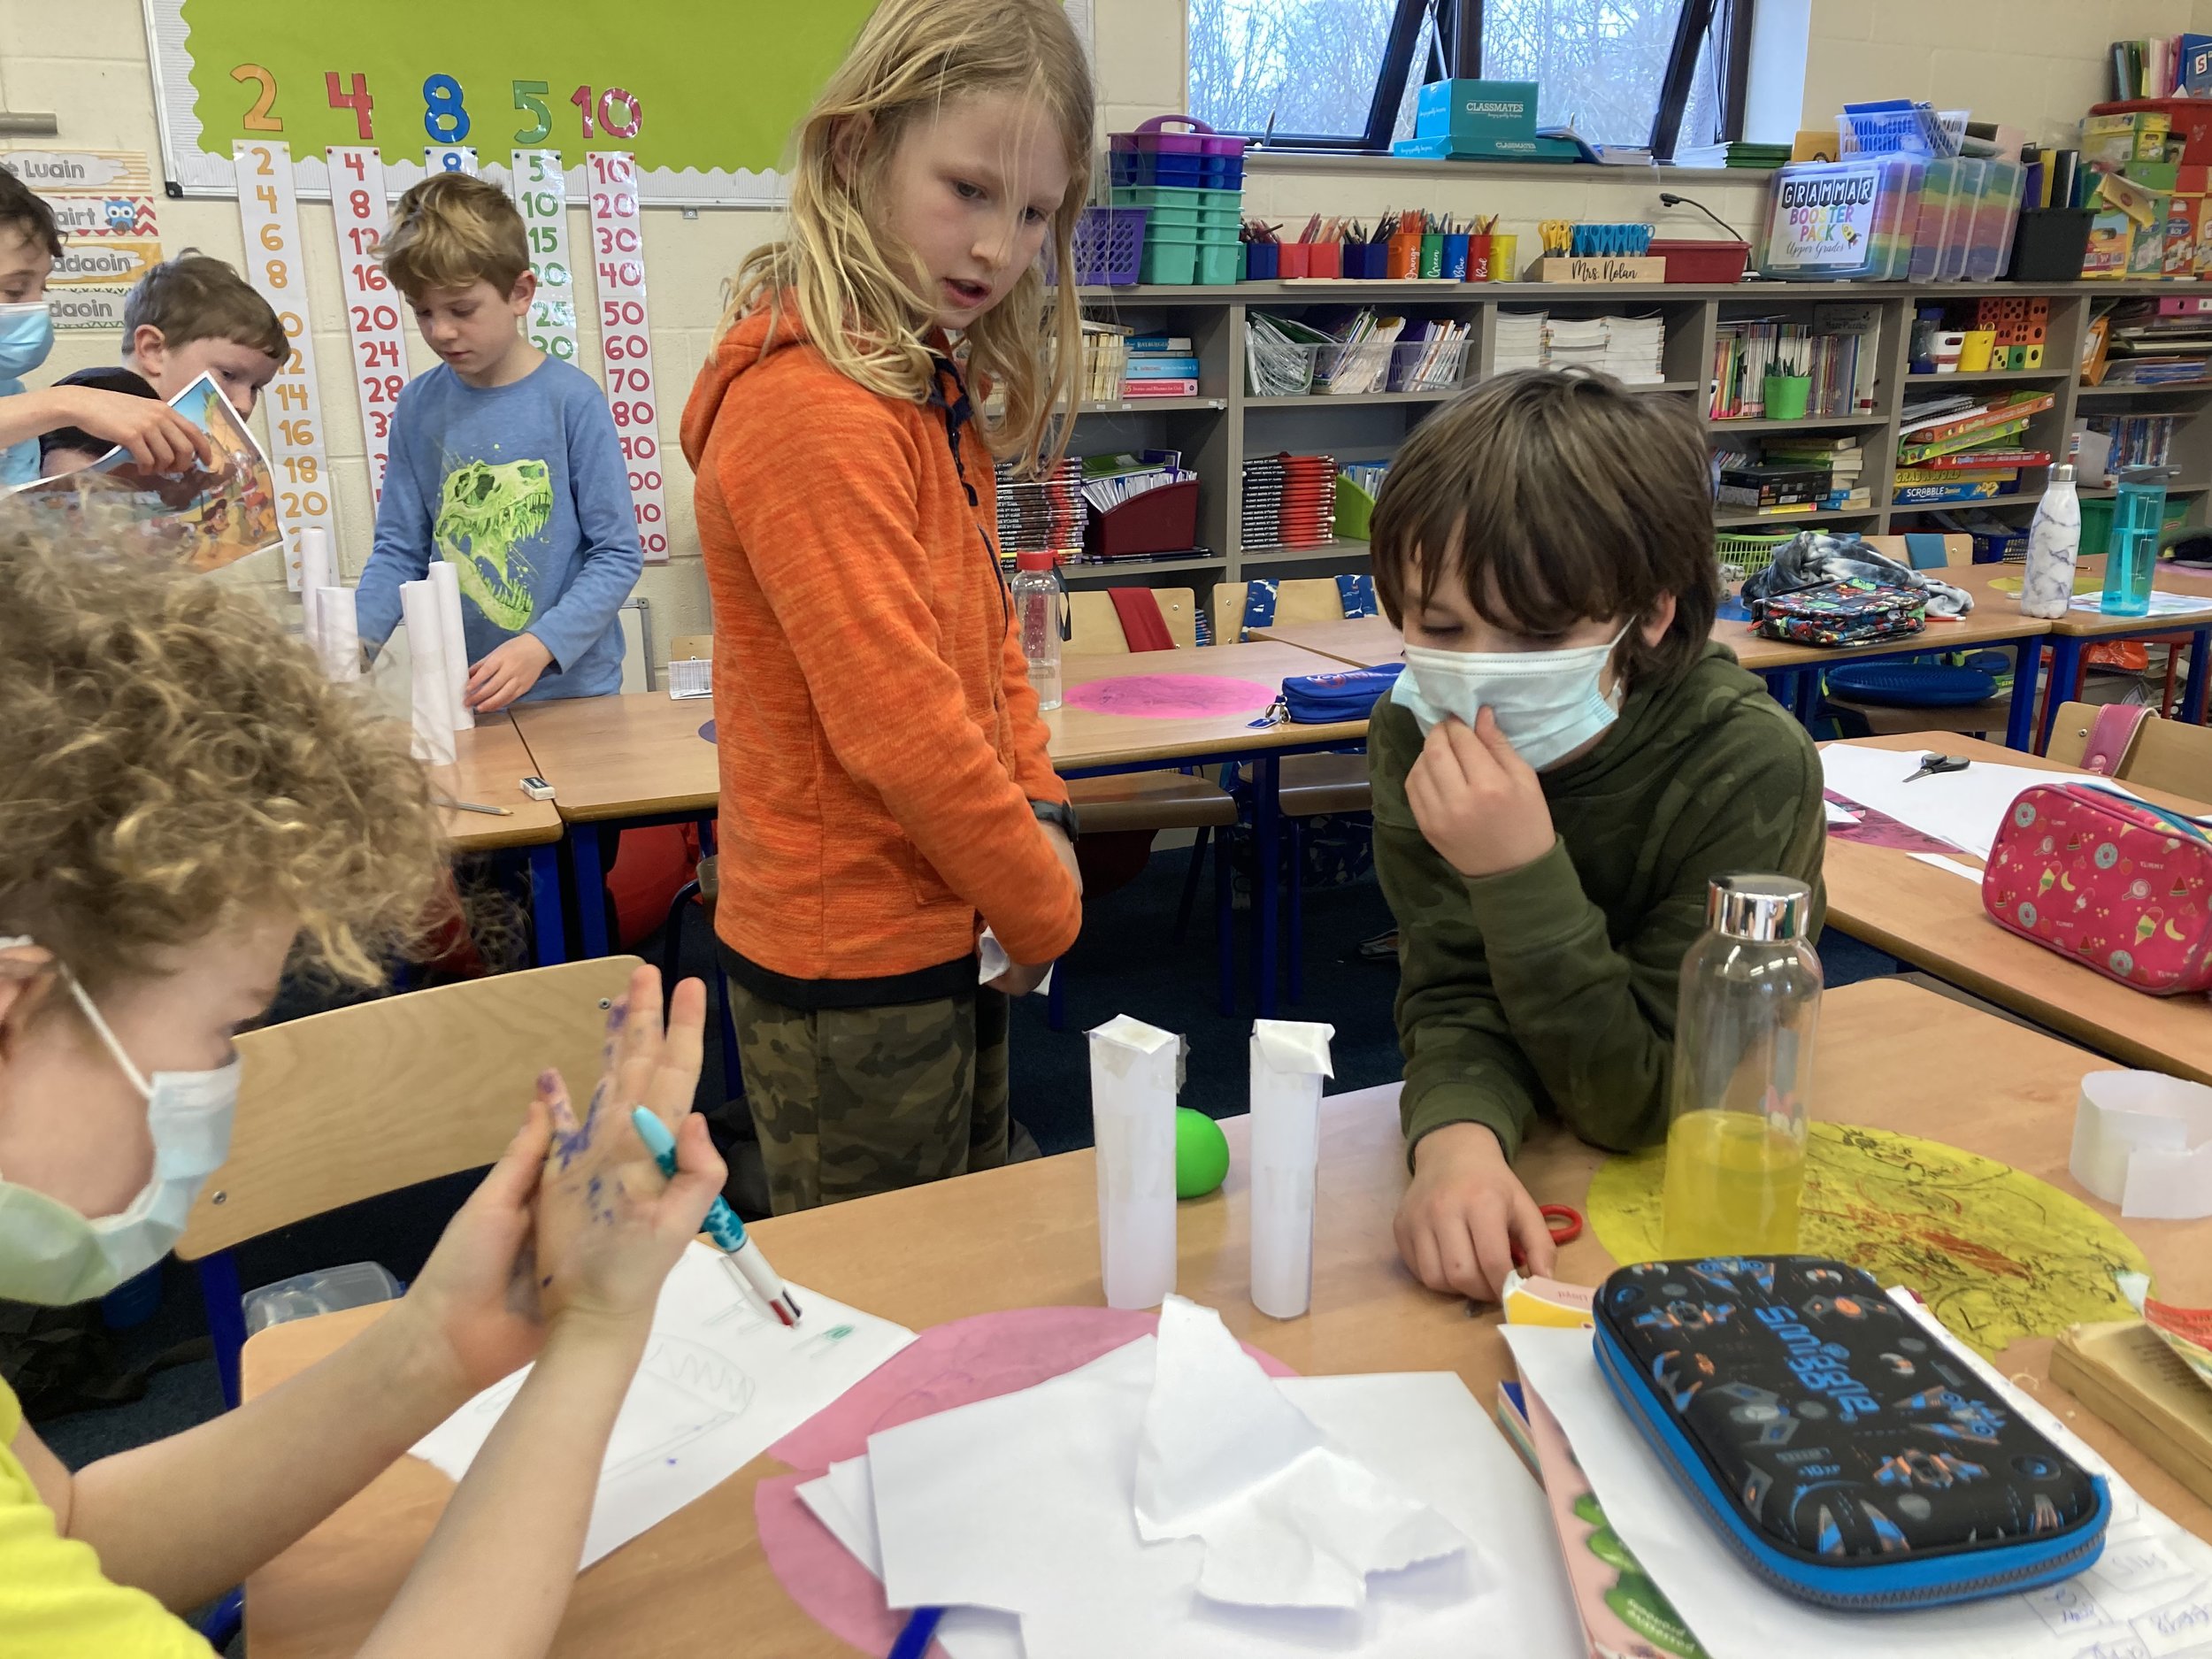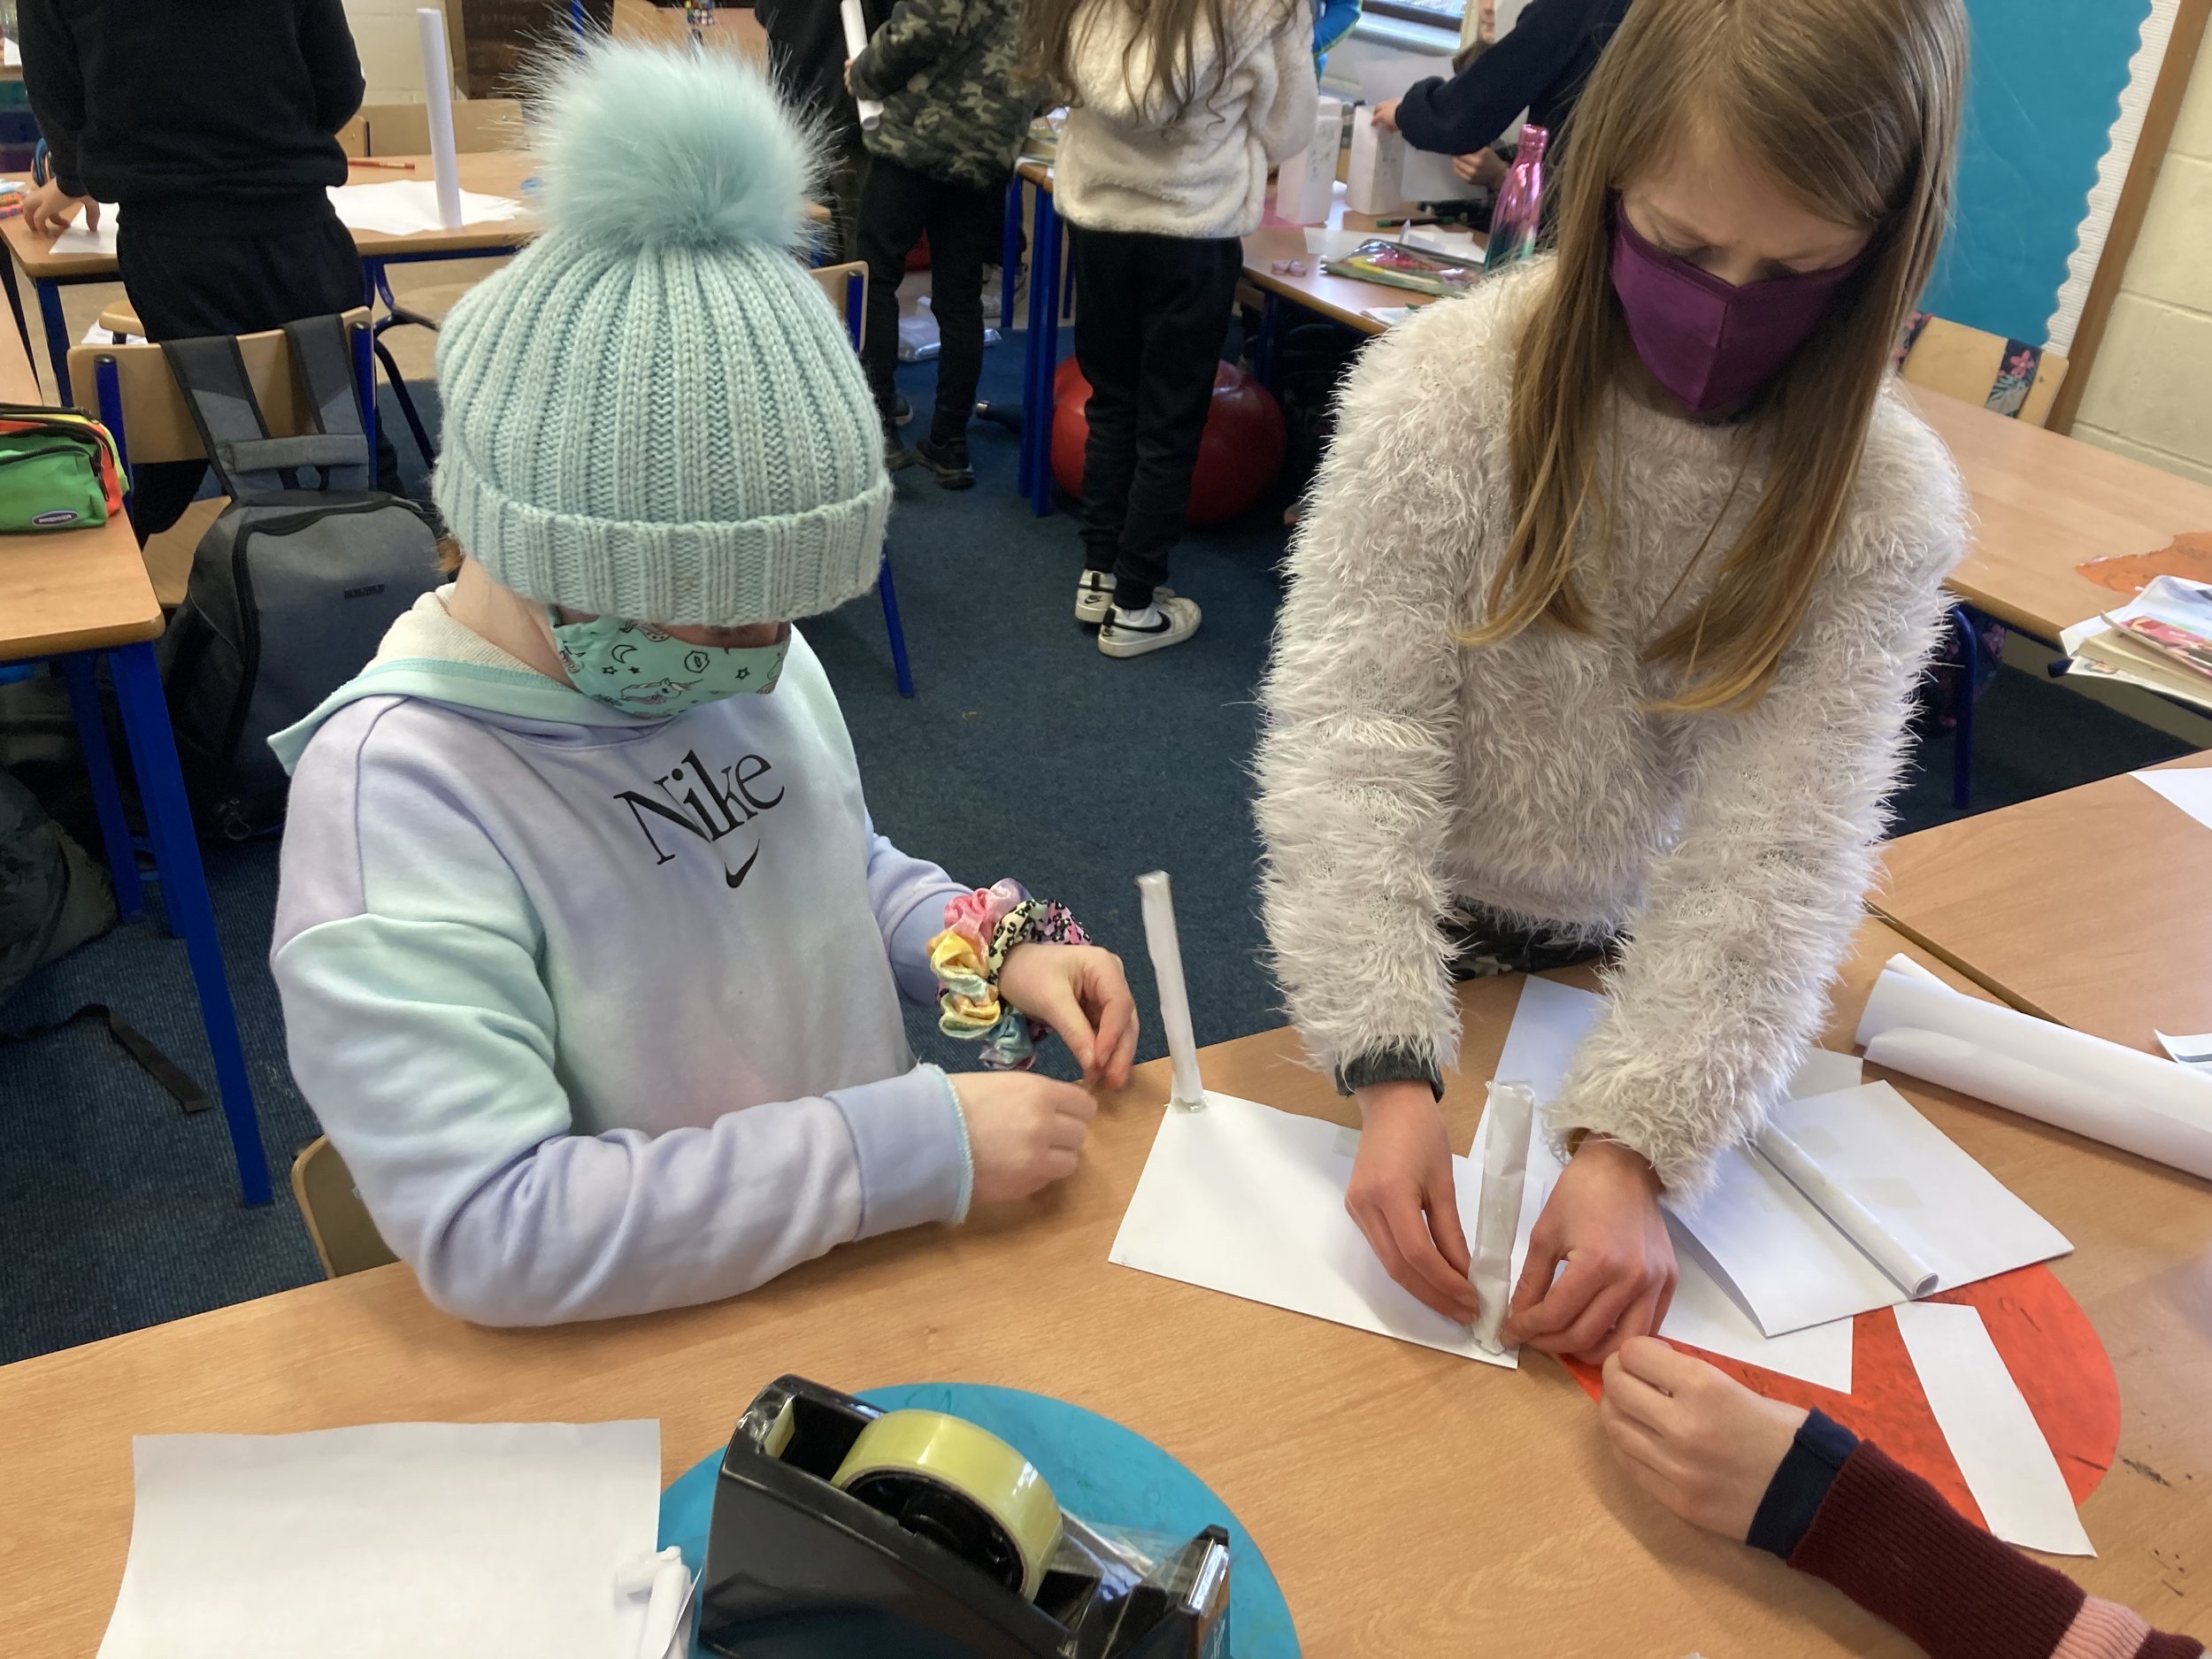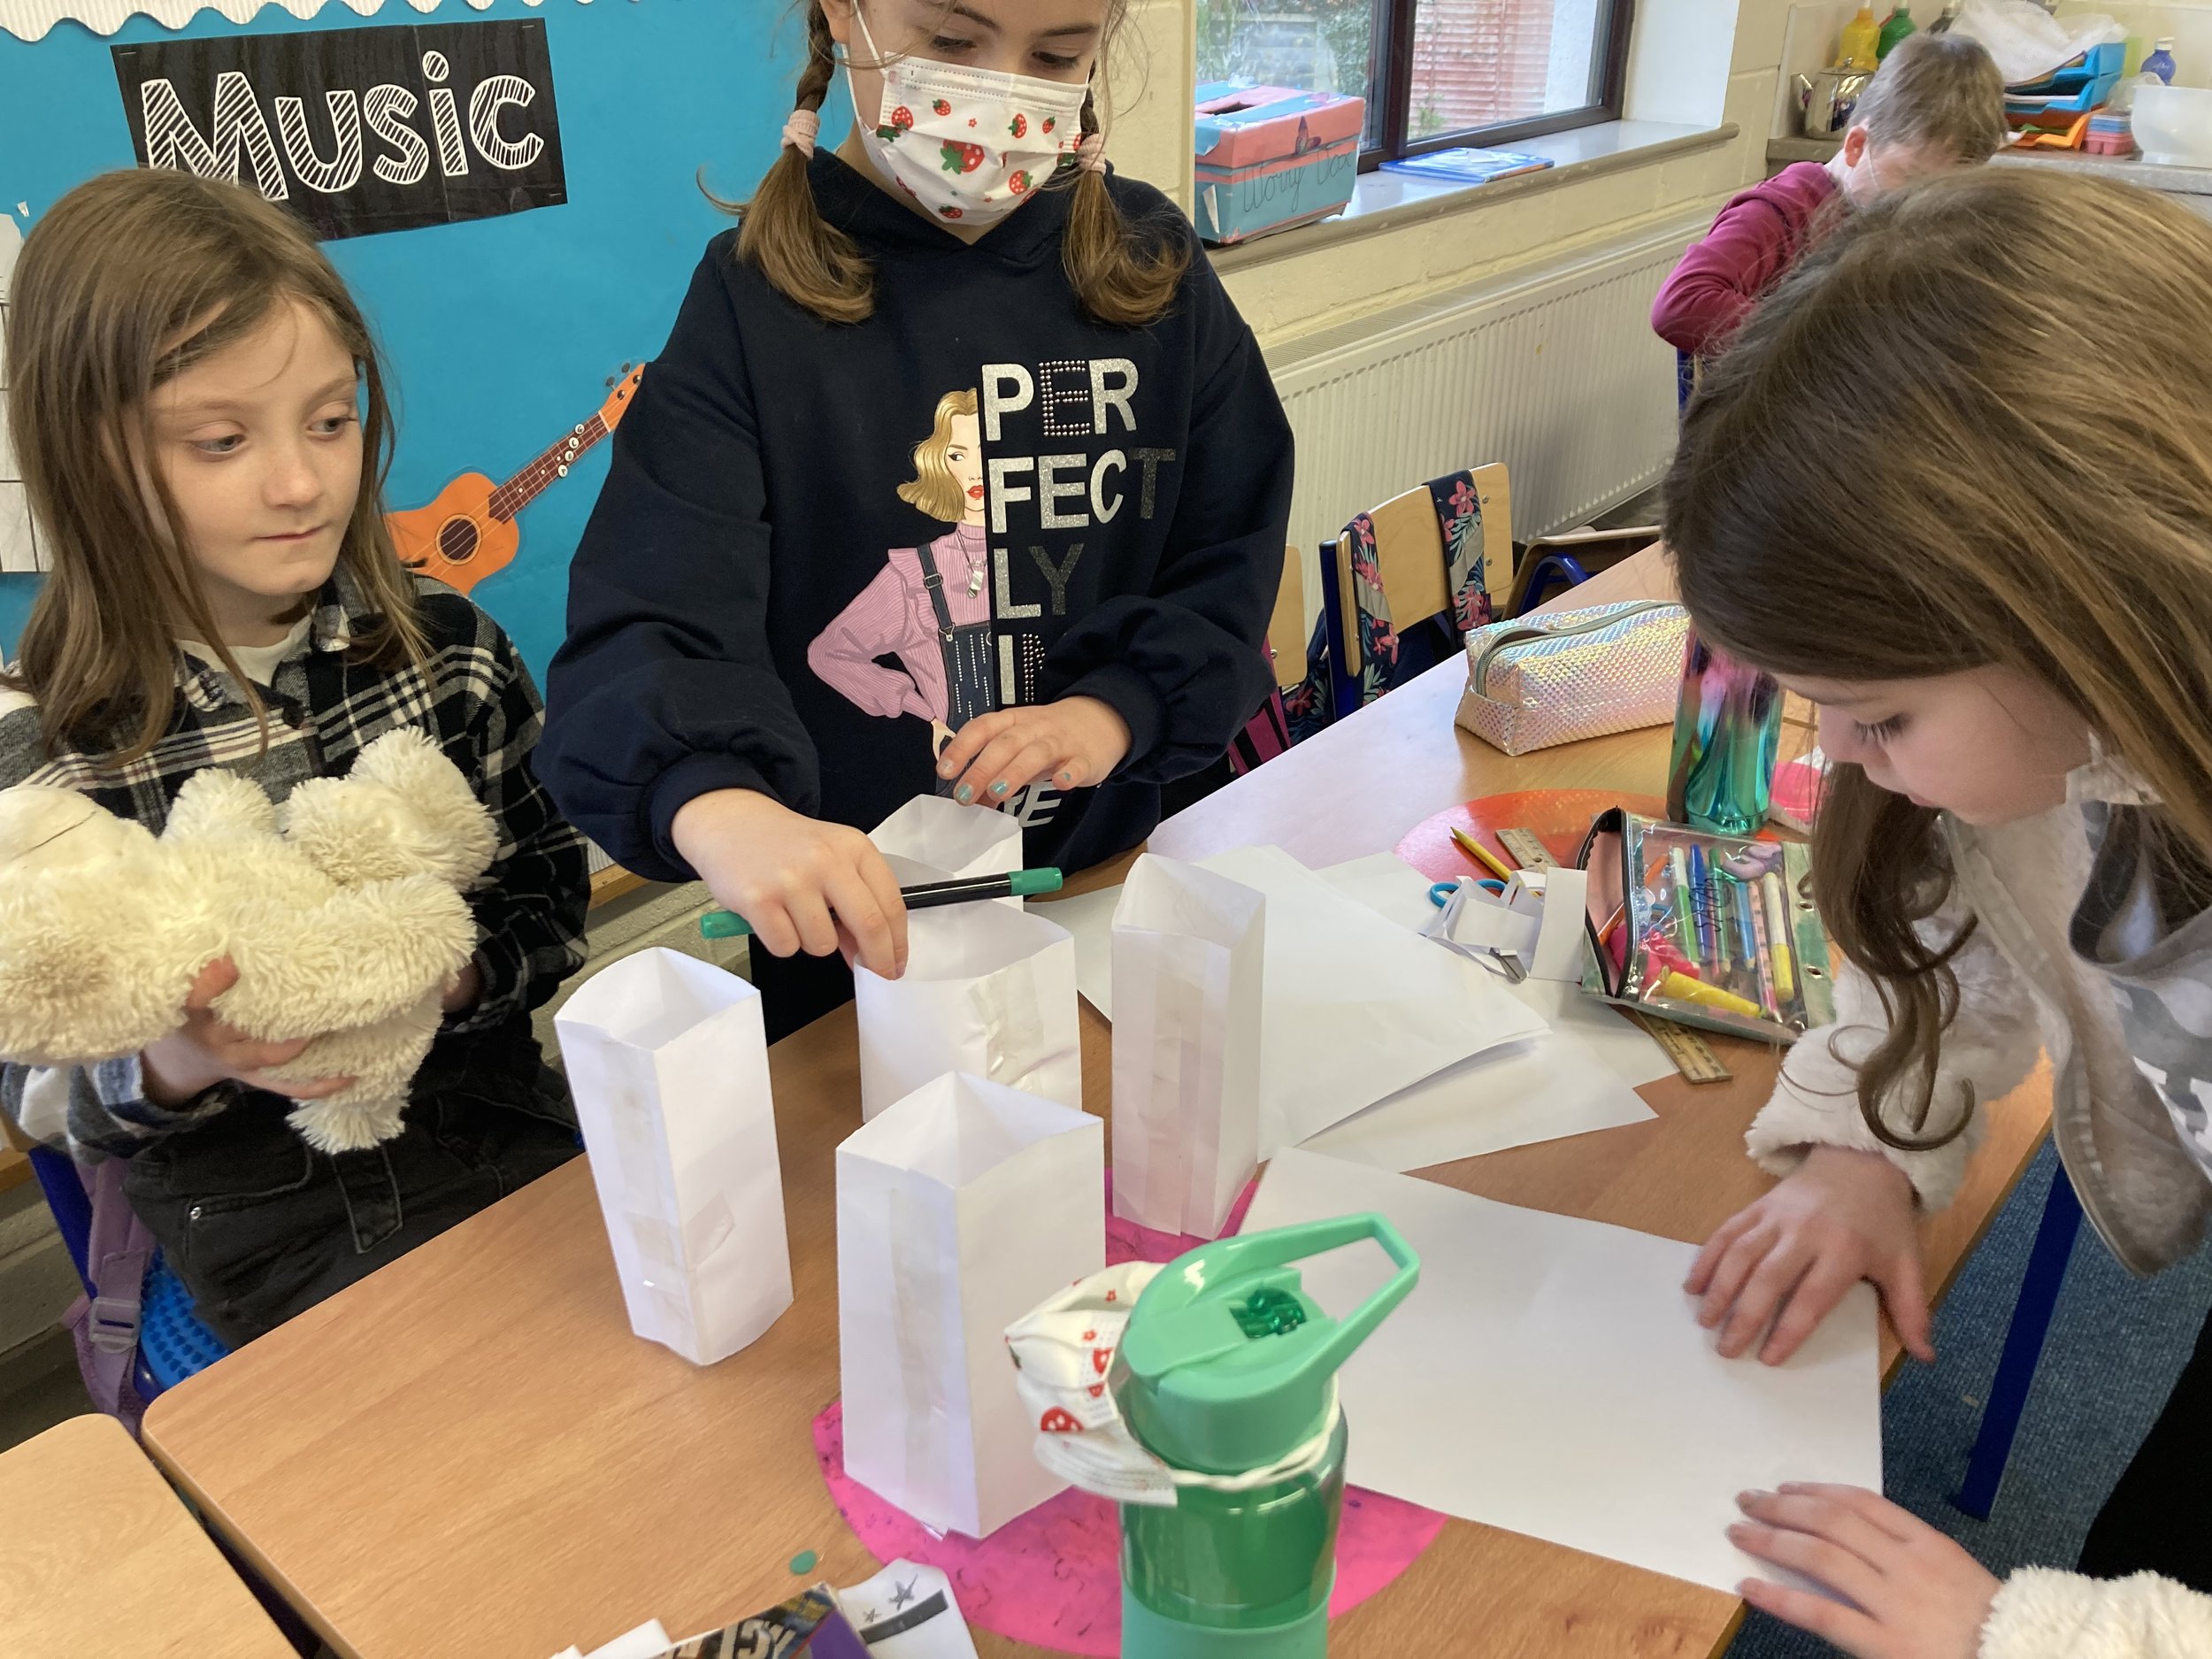


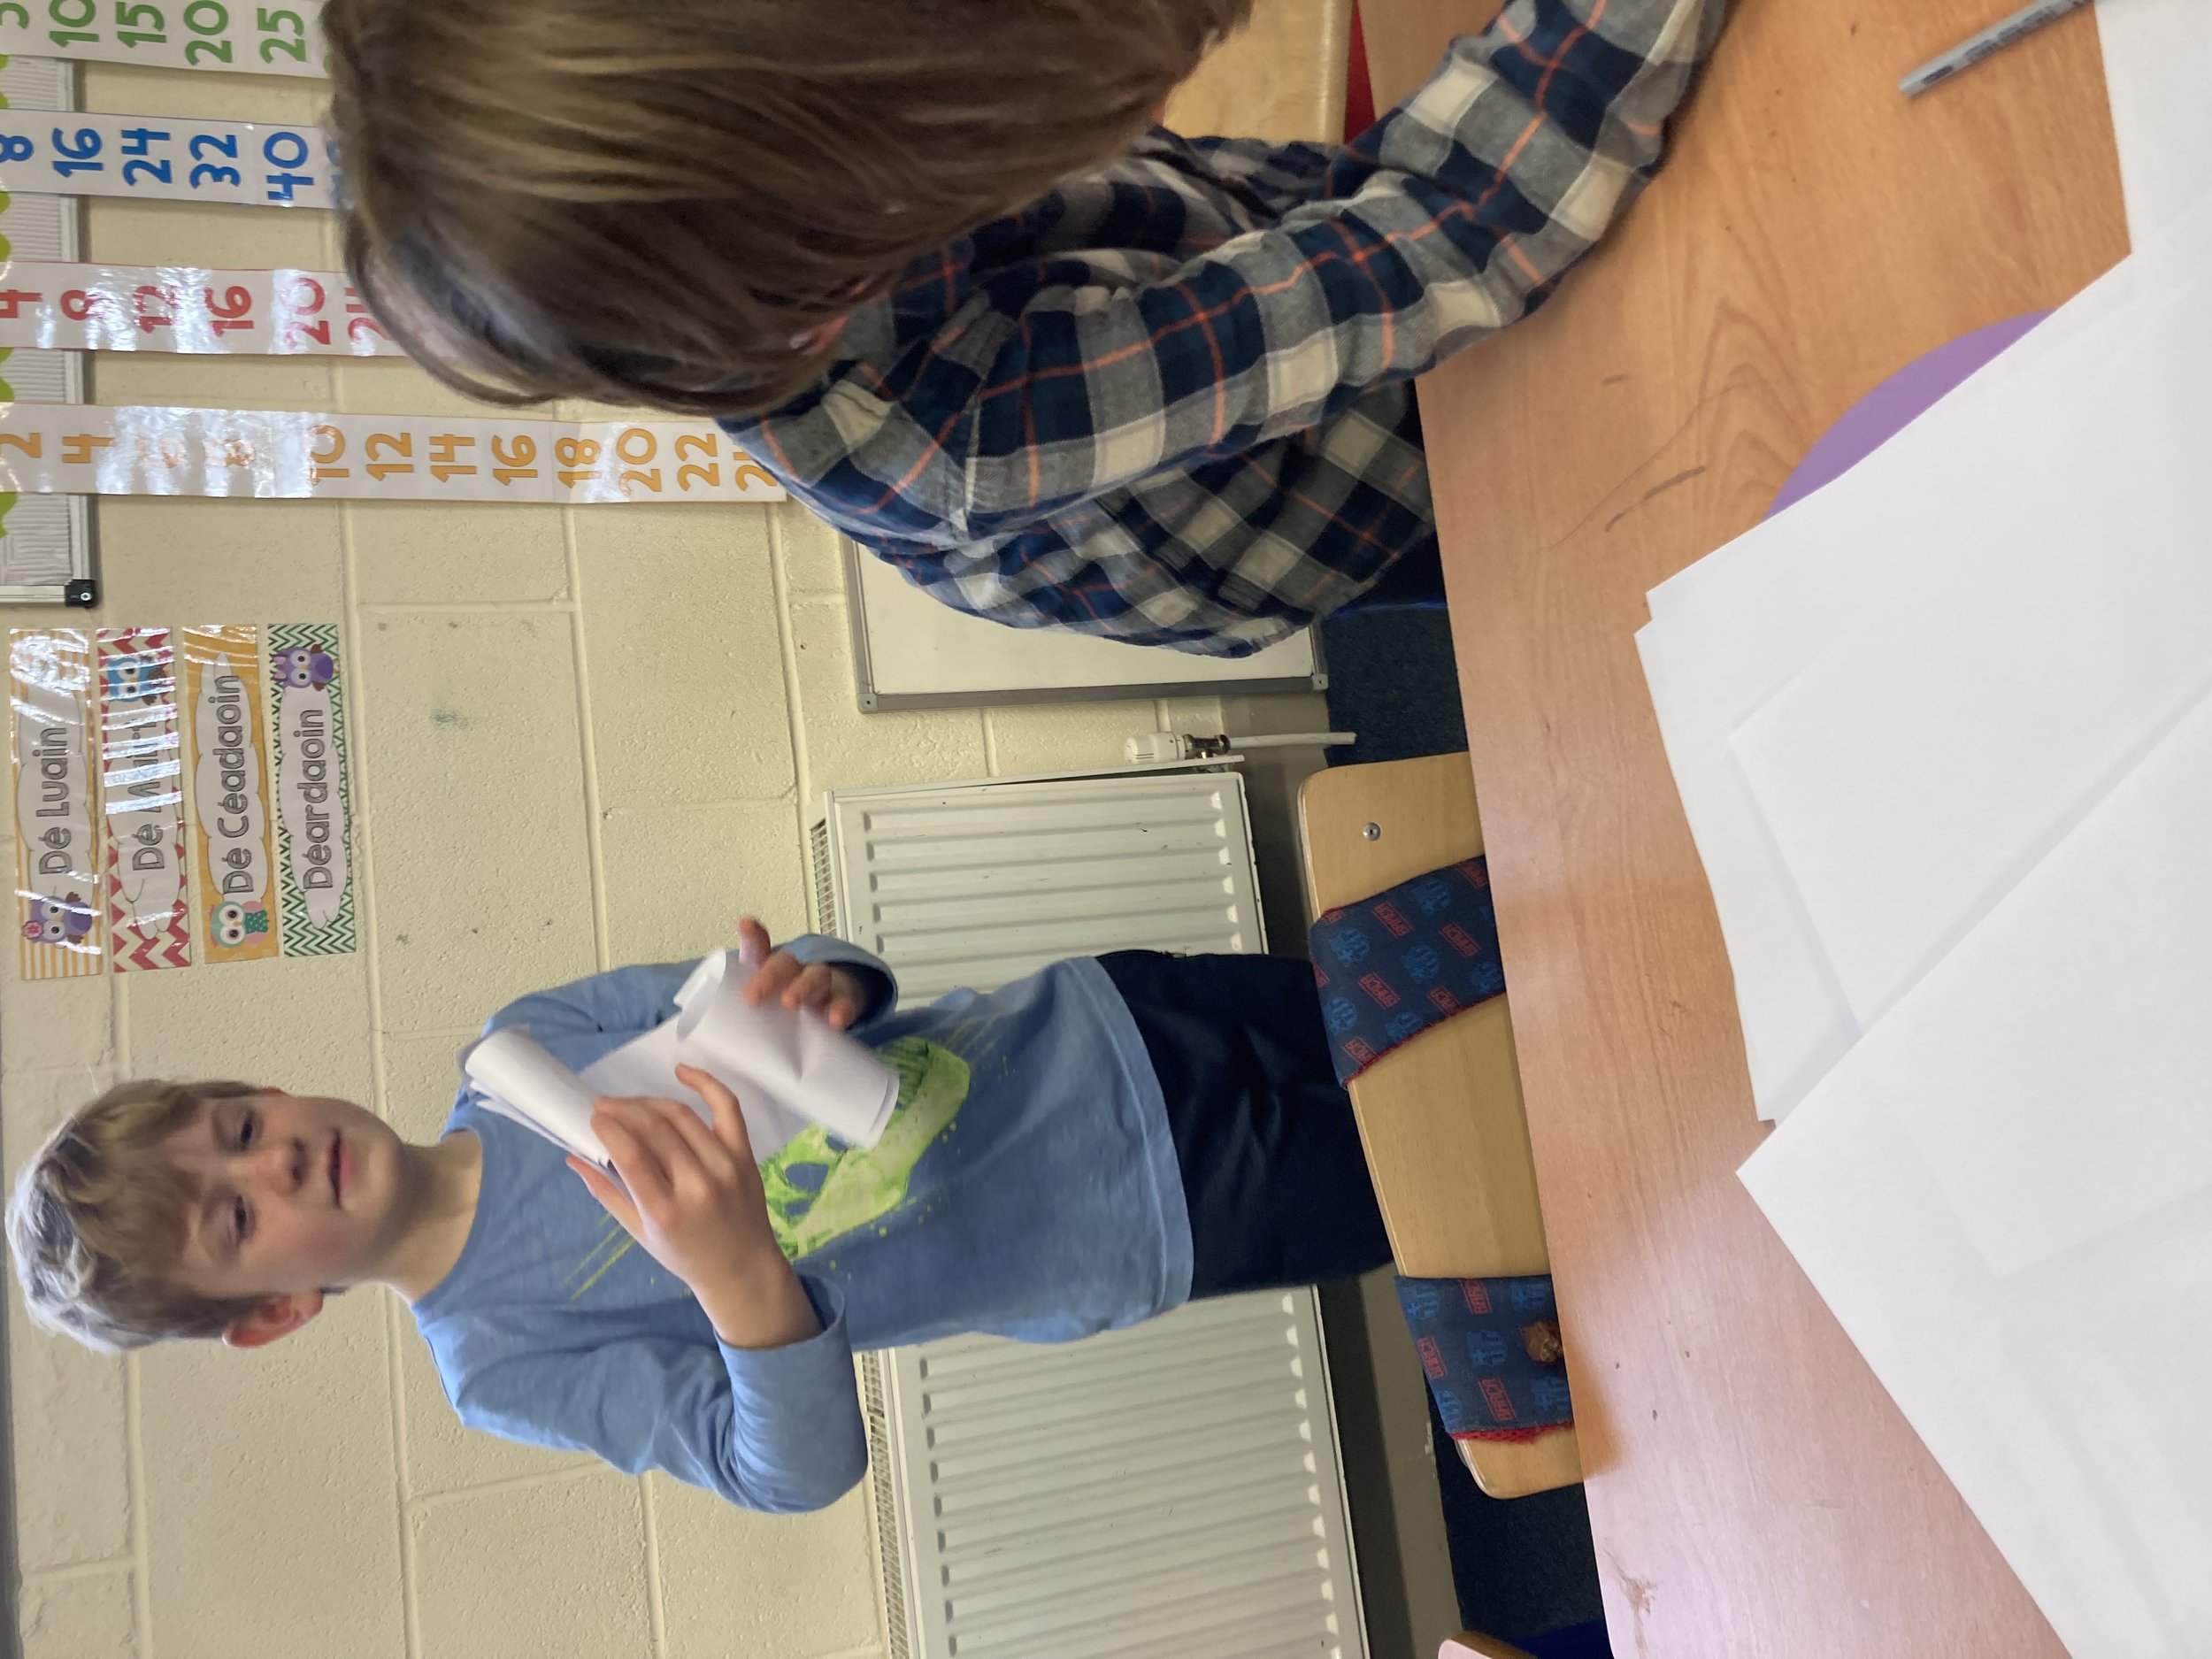


Today 2nd and 3rd class were tasked with designing and making a chair for teddy. They were only permitted to use 10 sheets of paper, glue and selotape. Before we set into designing and making, we discussed the properties of chairs that make them chairs - we agreed that chairs have 4 legs and a seat and that when Teddy is sitting on the chairs he must have his feet off the floor.
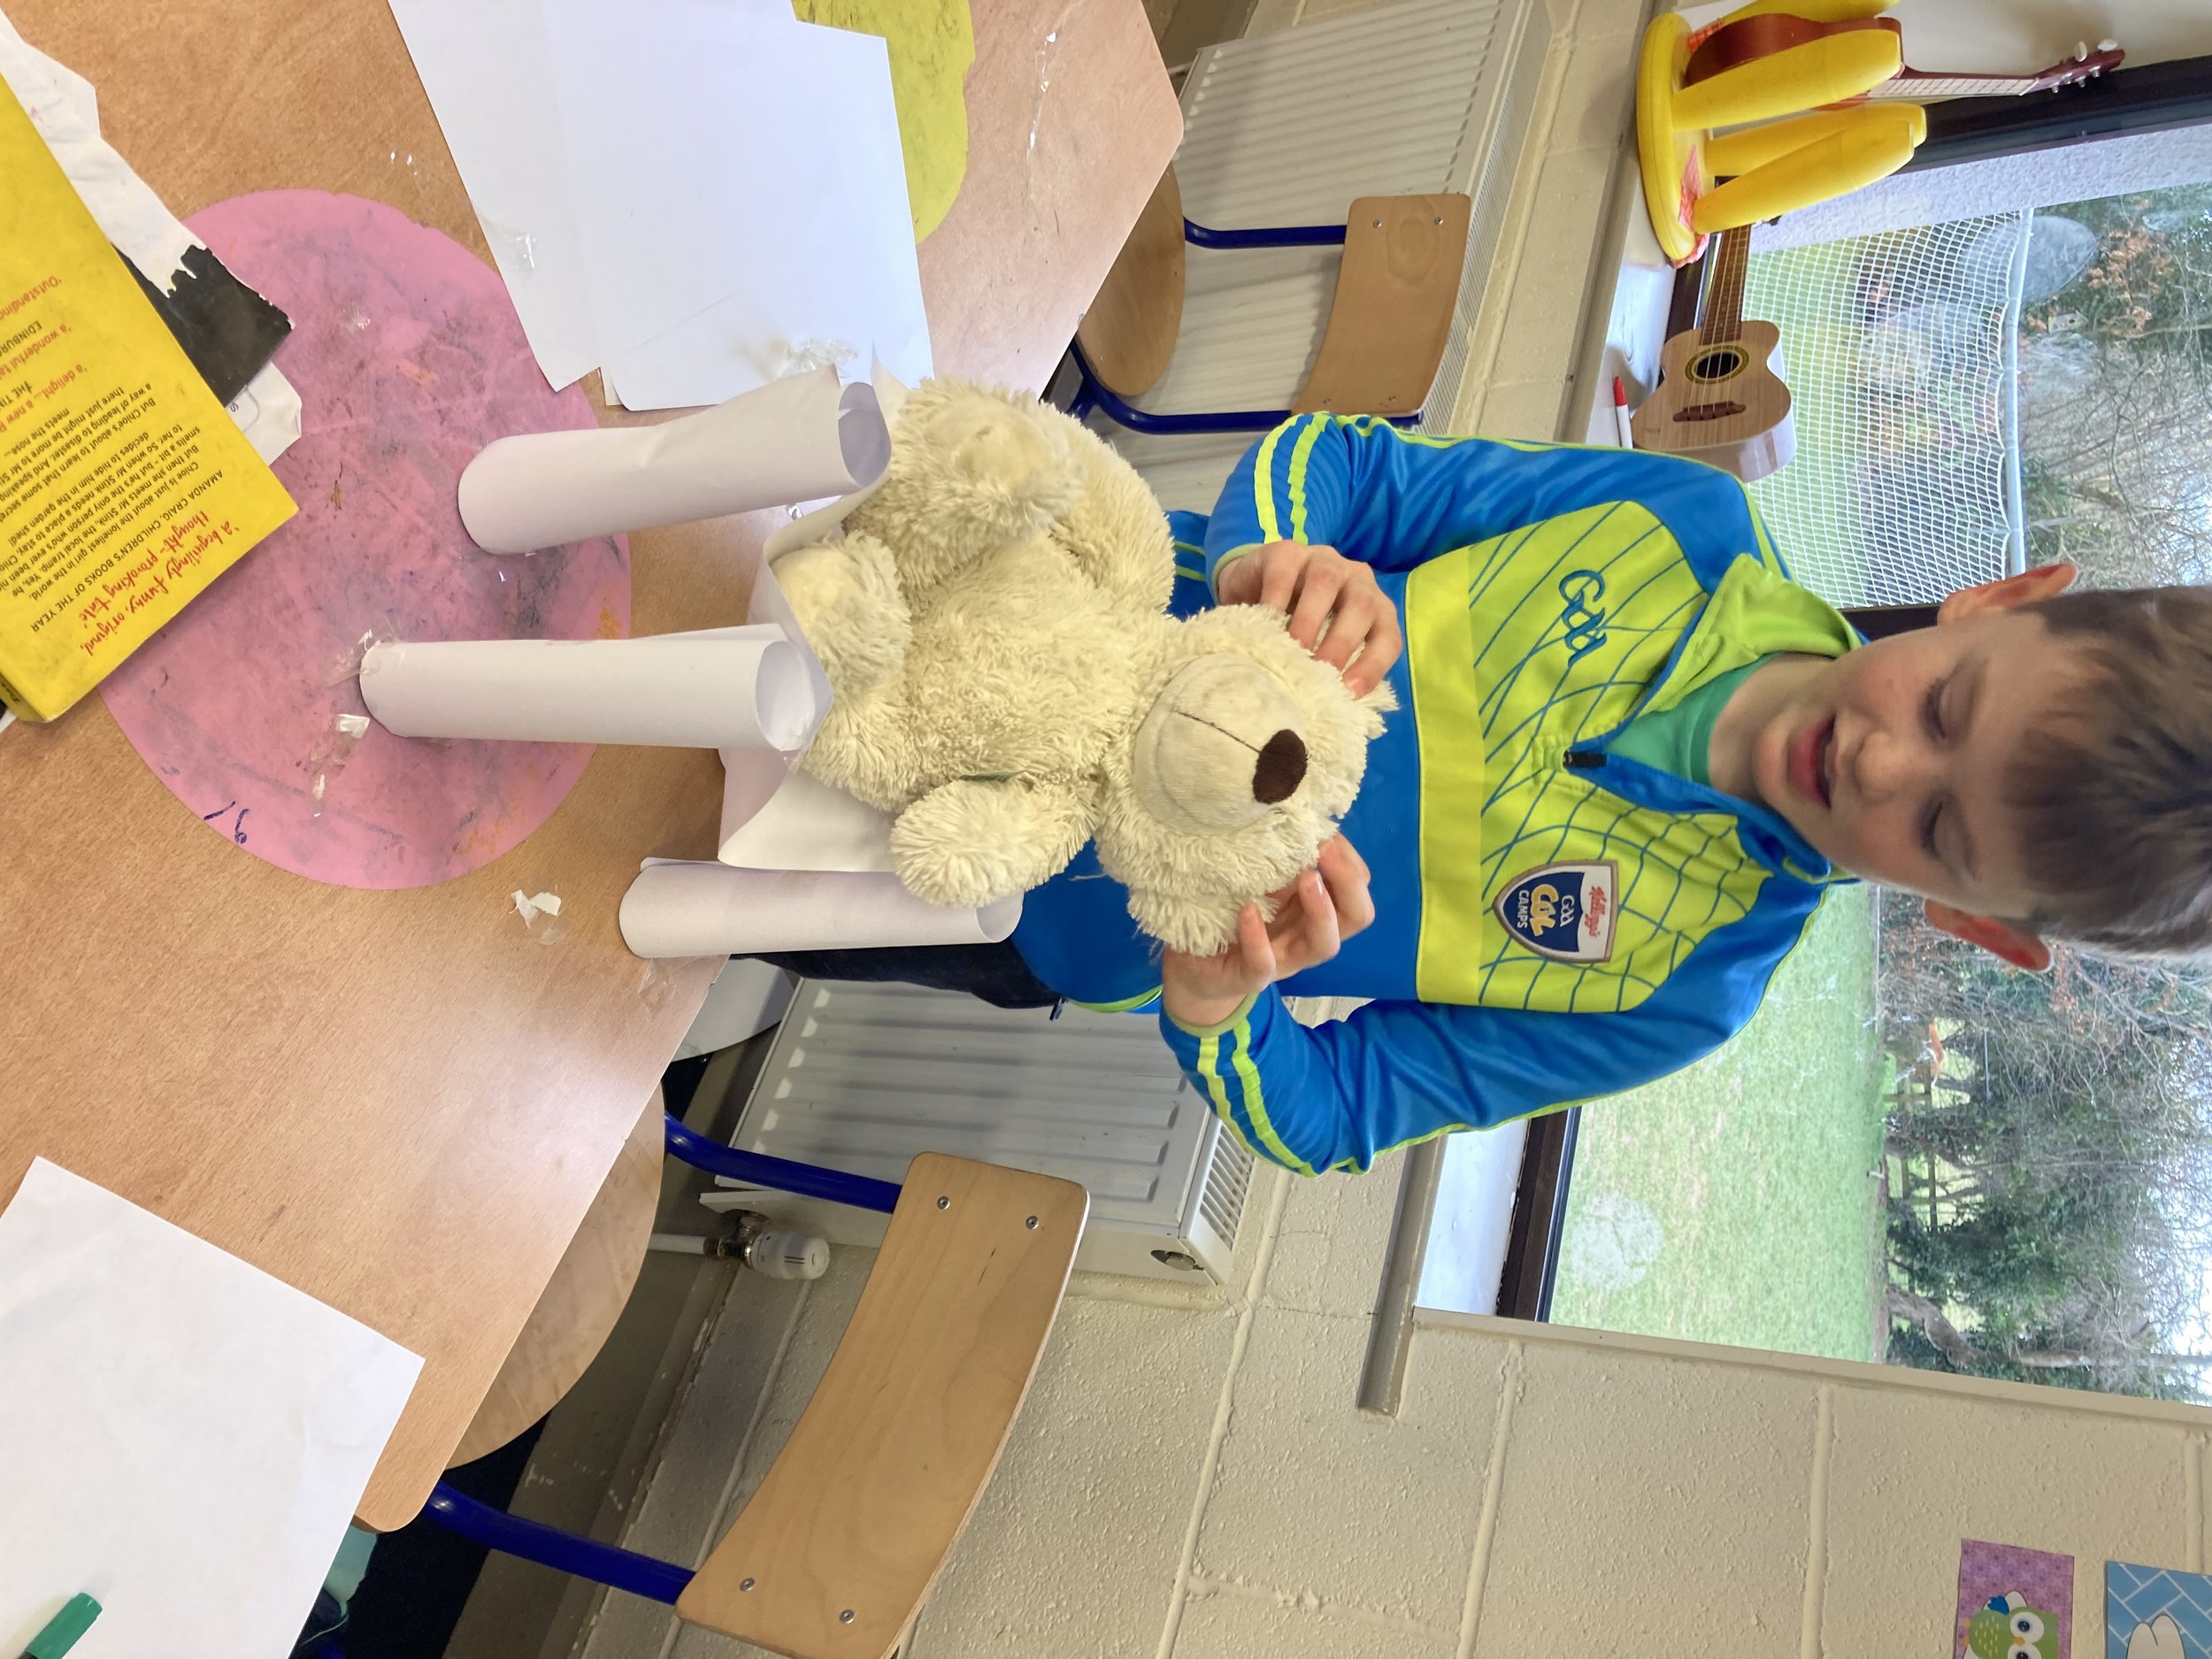
We had a choice between two different teddies, a ladybird which was heavier but more compact and a teddy bear which was lighter but which had long legs and arms which would be more difficult to keep off the floor. We agreed that we would use the teddy bear. We gave ourselves 30 minutes to complete this challenge.
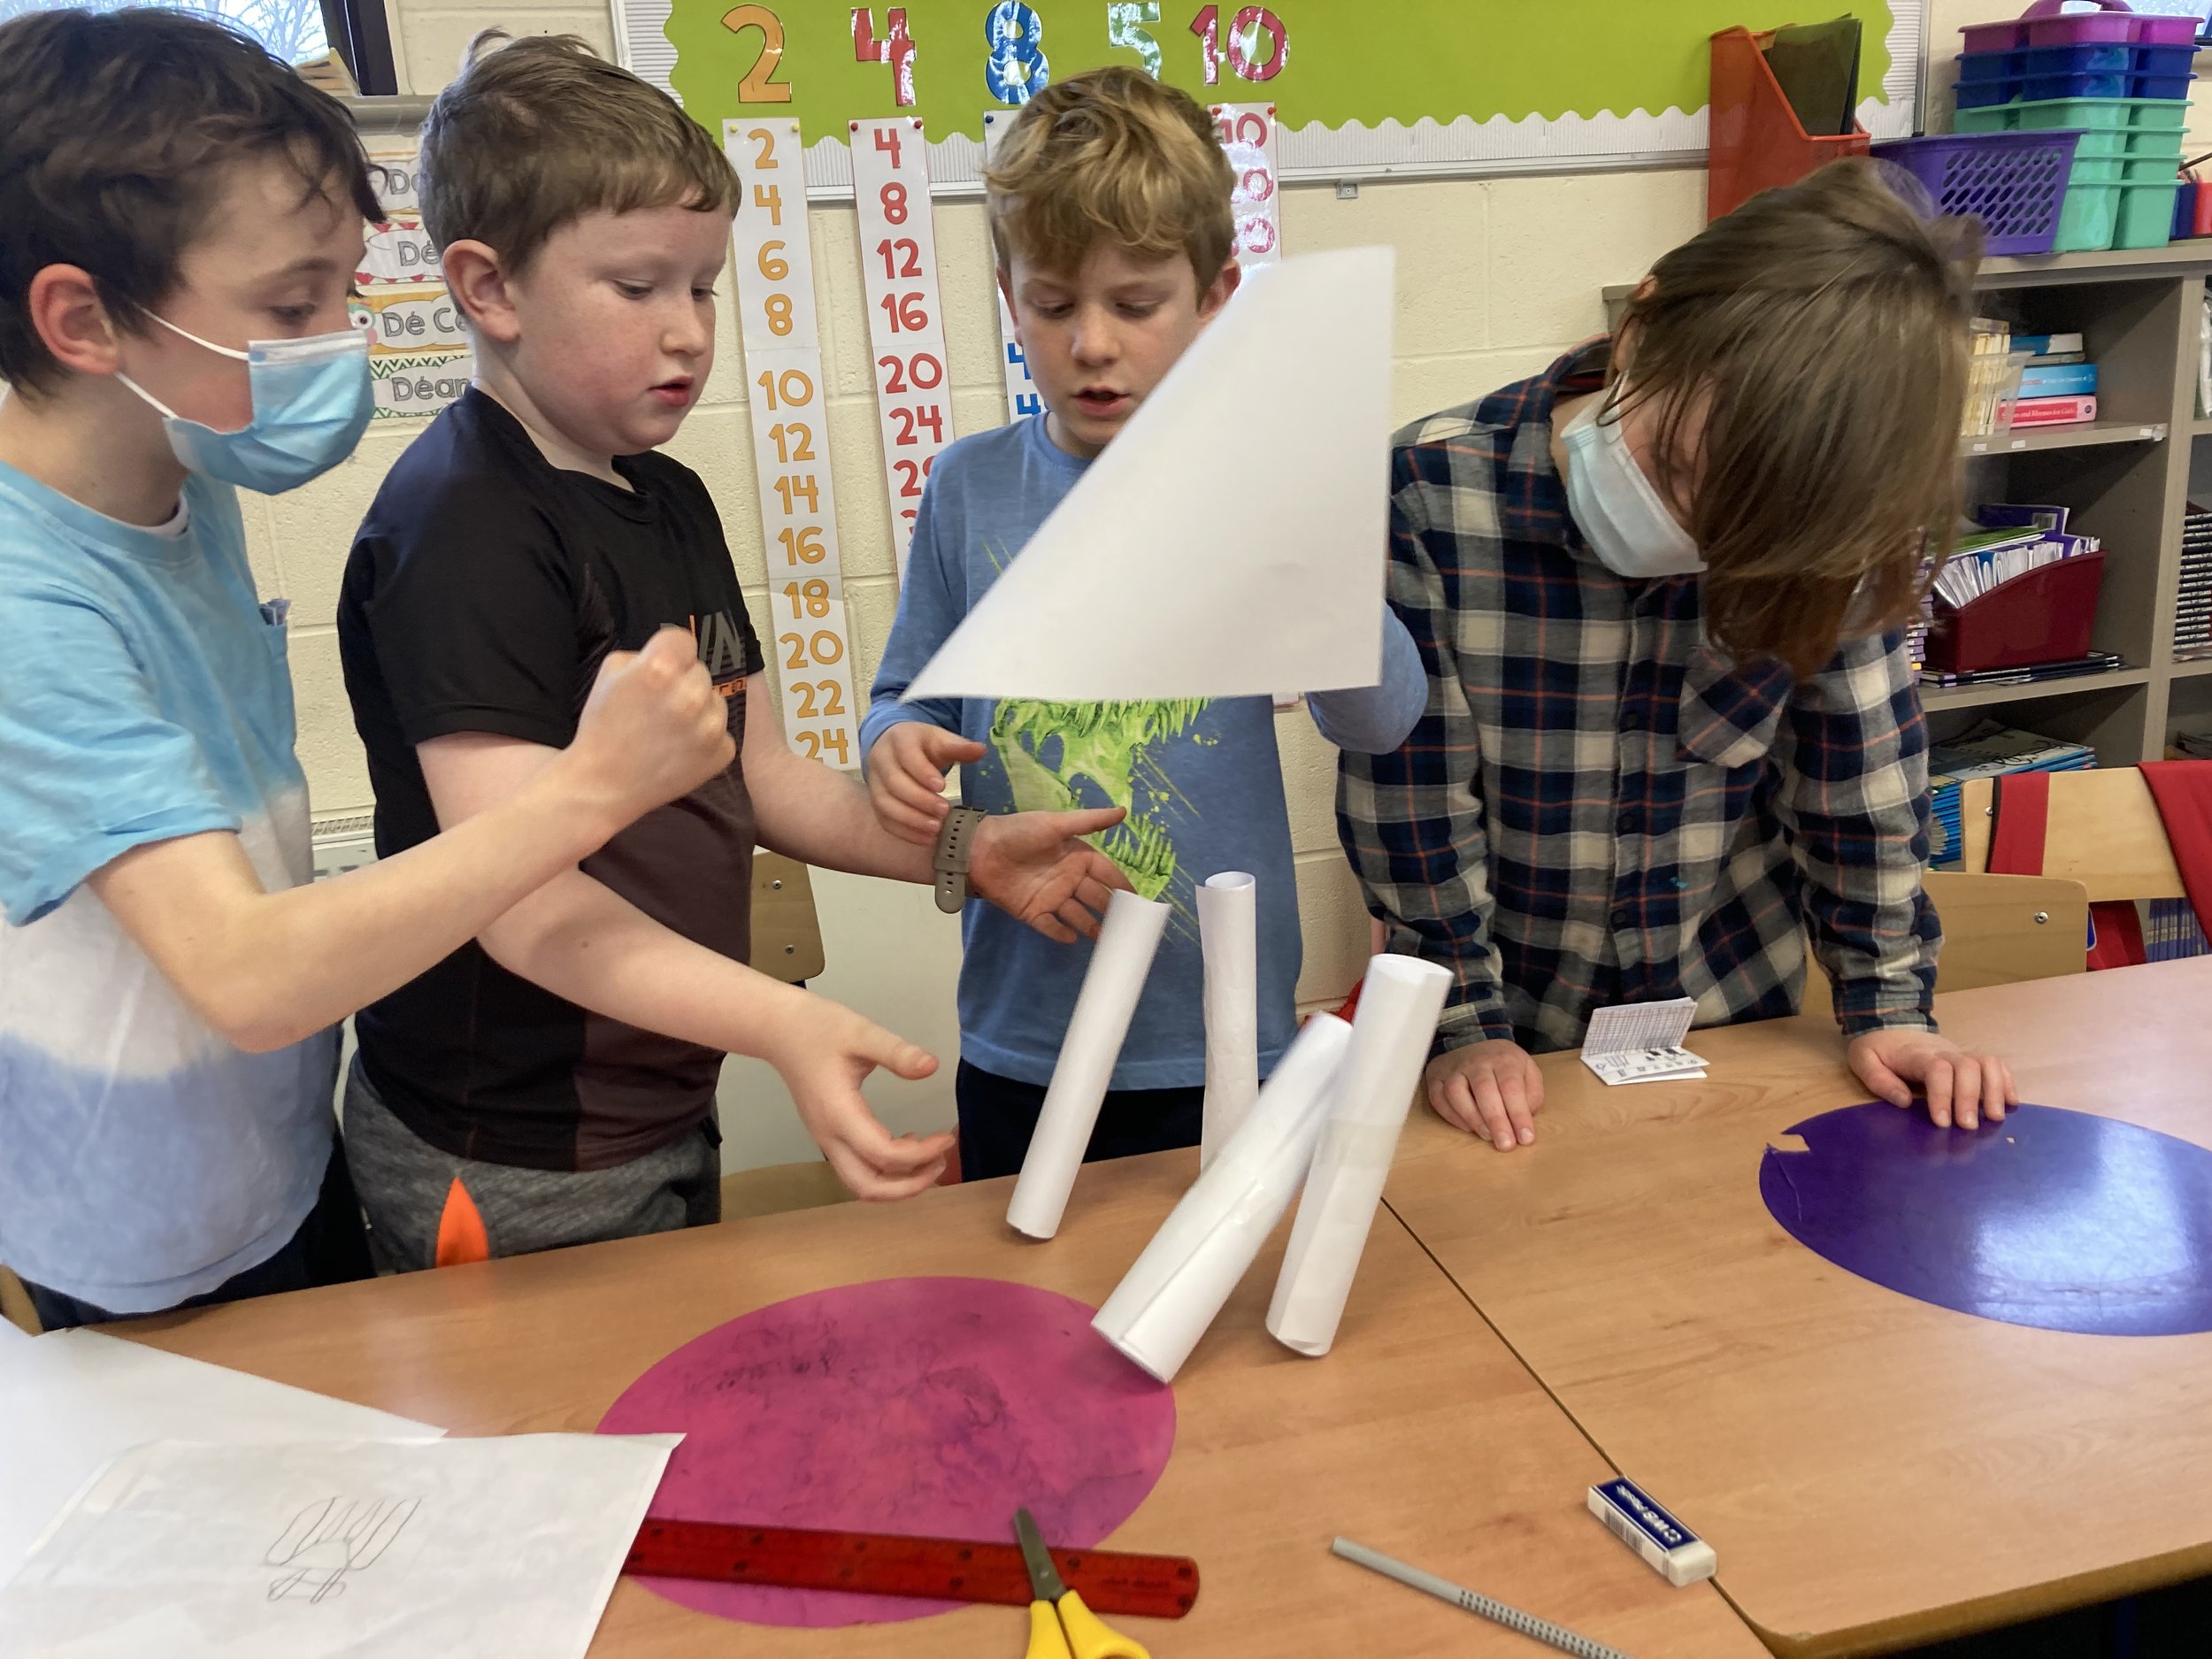
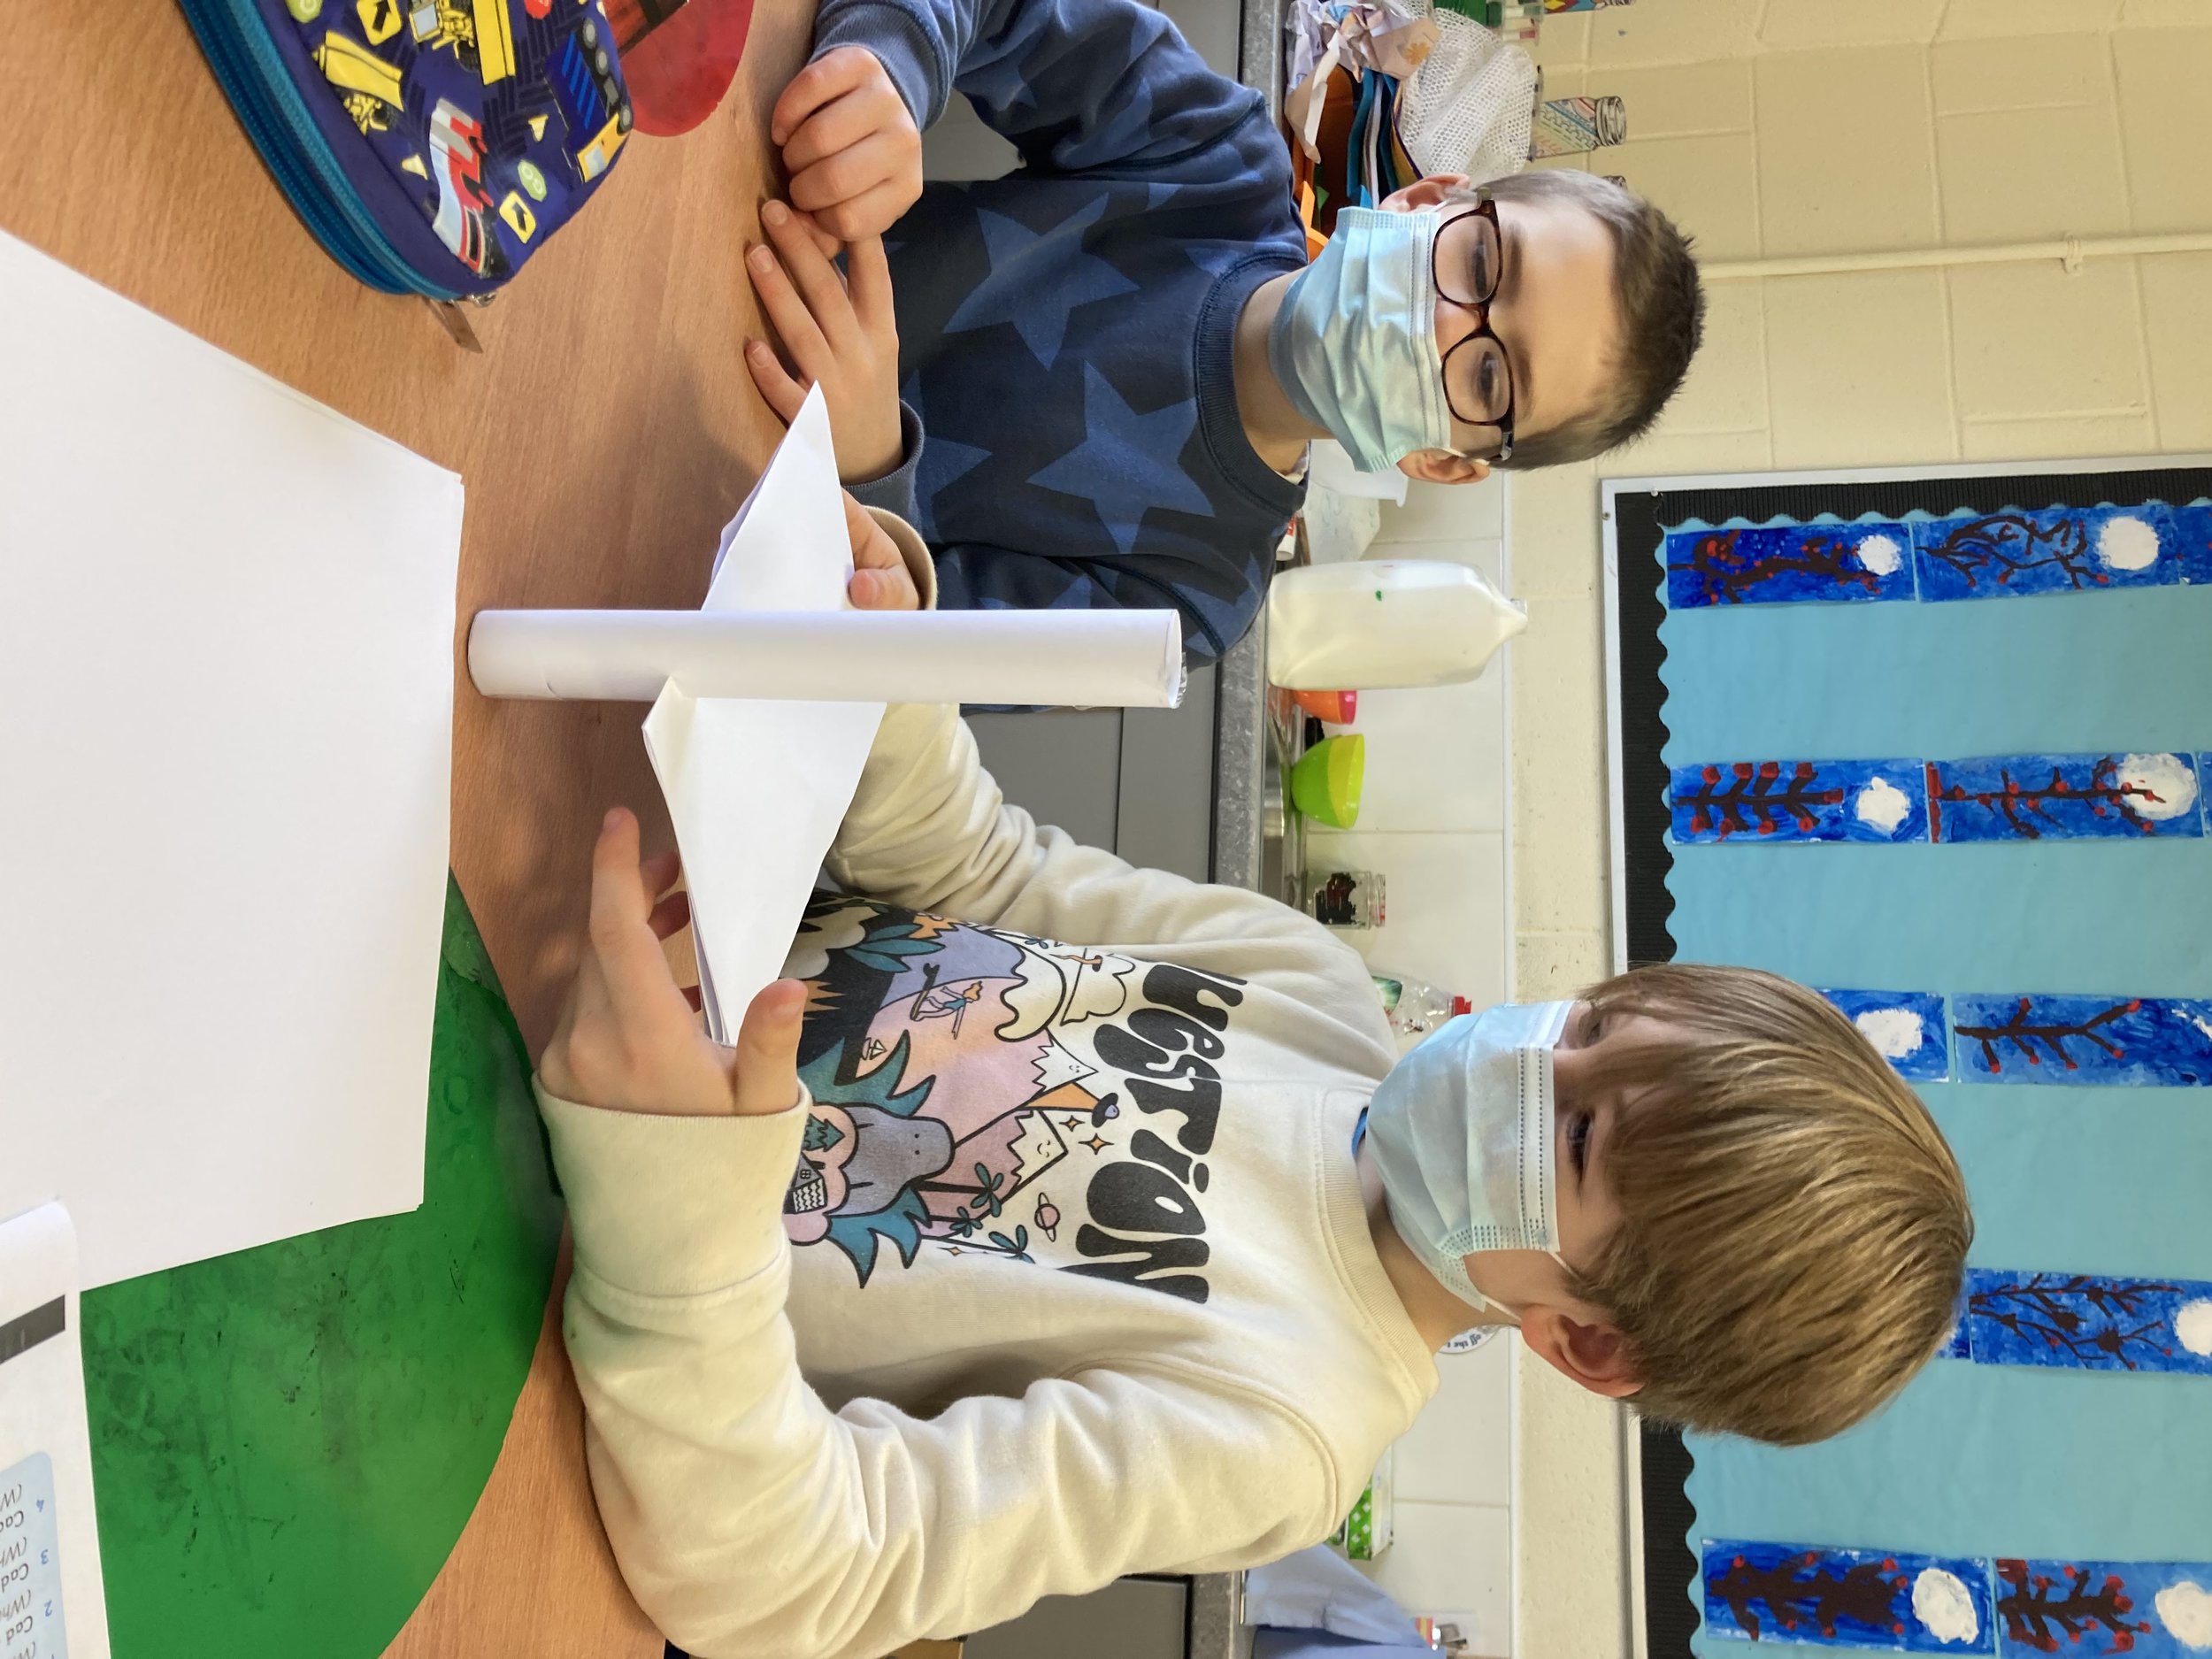
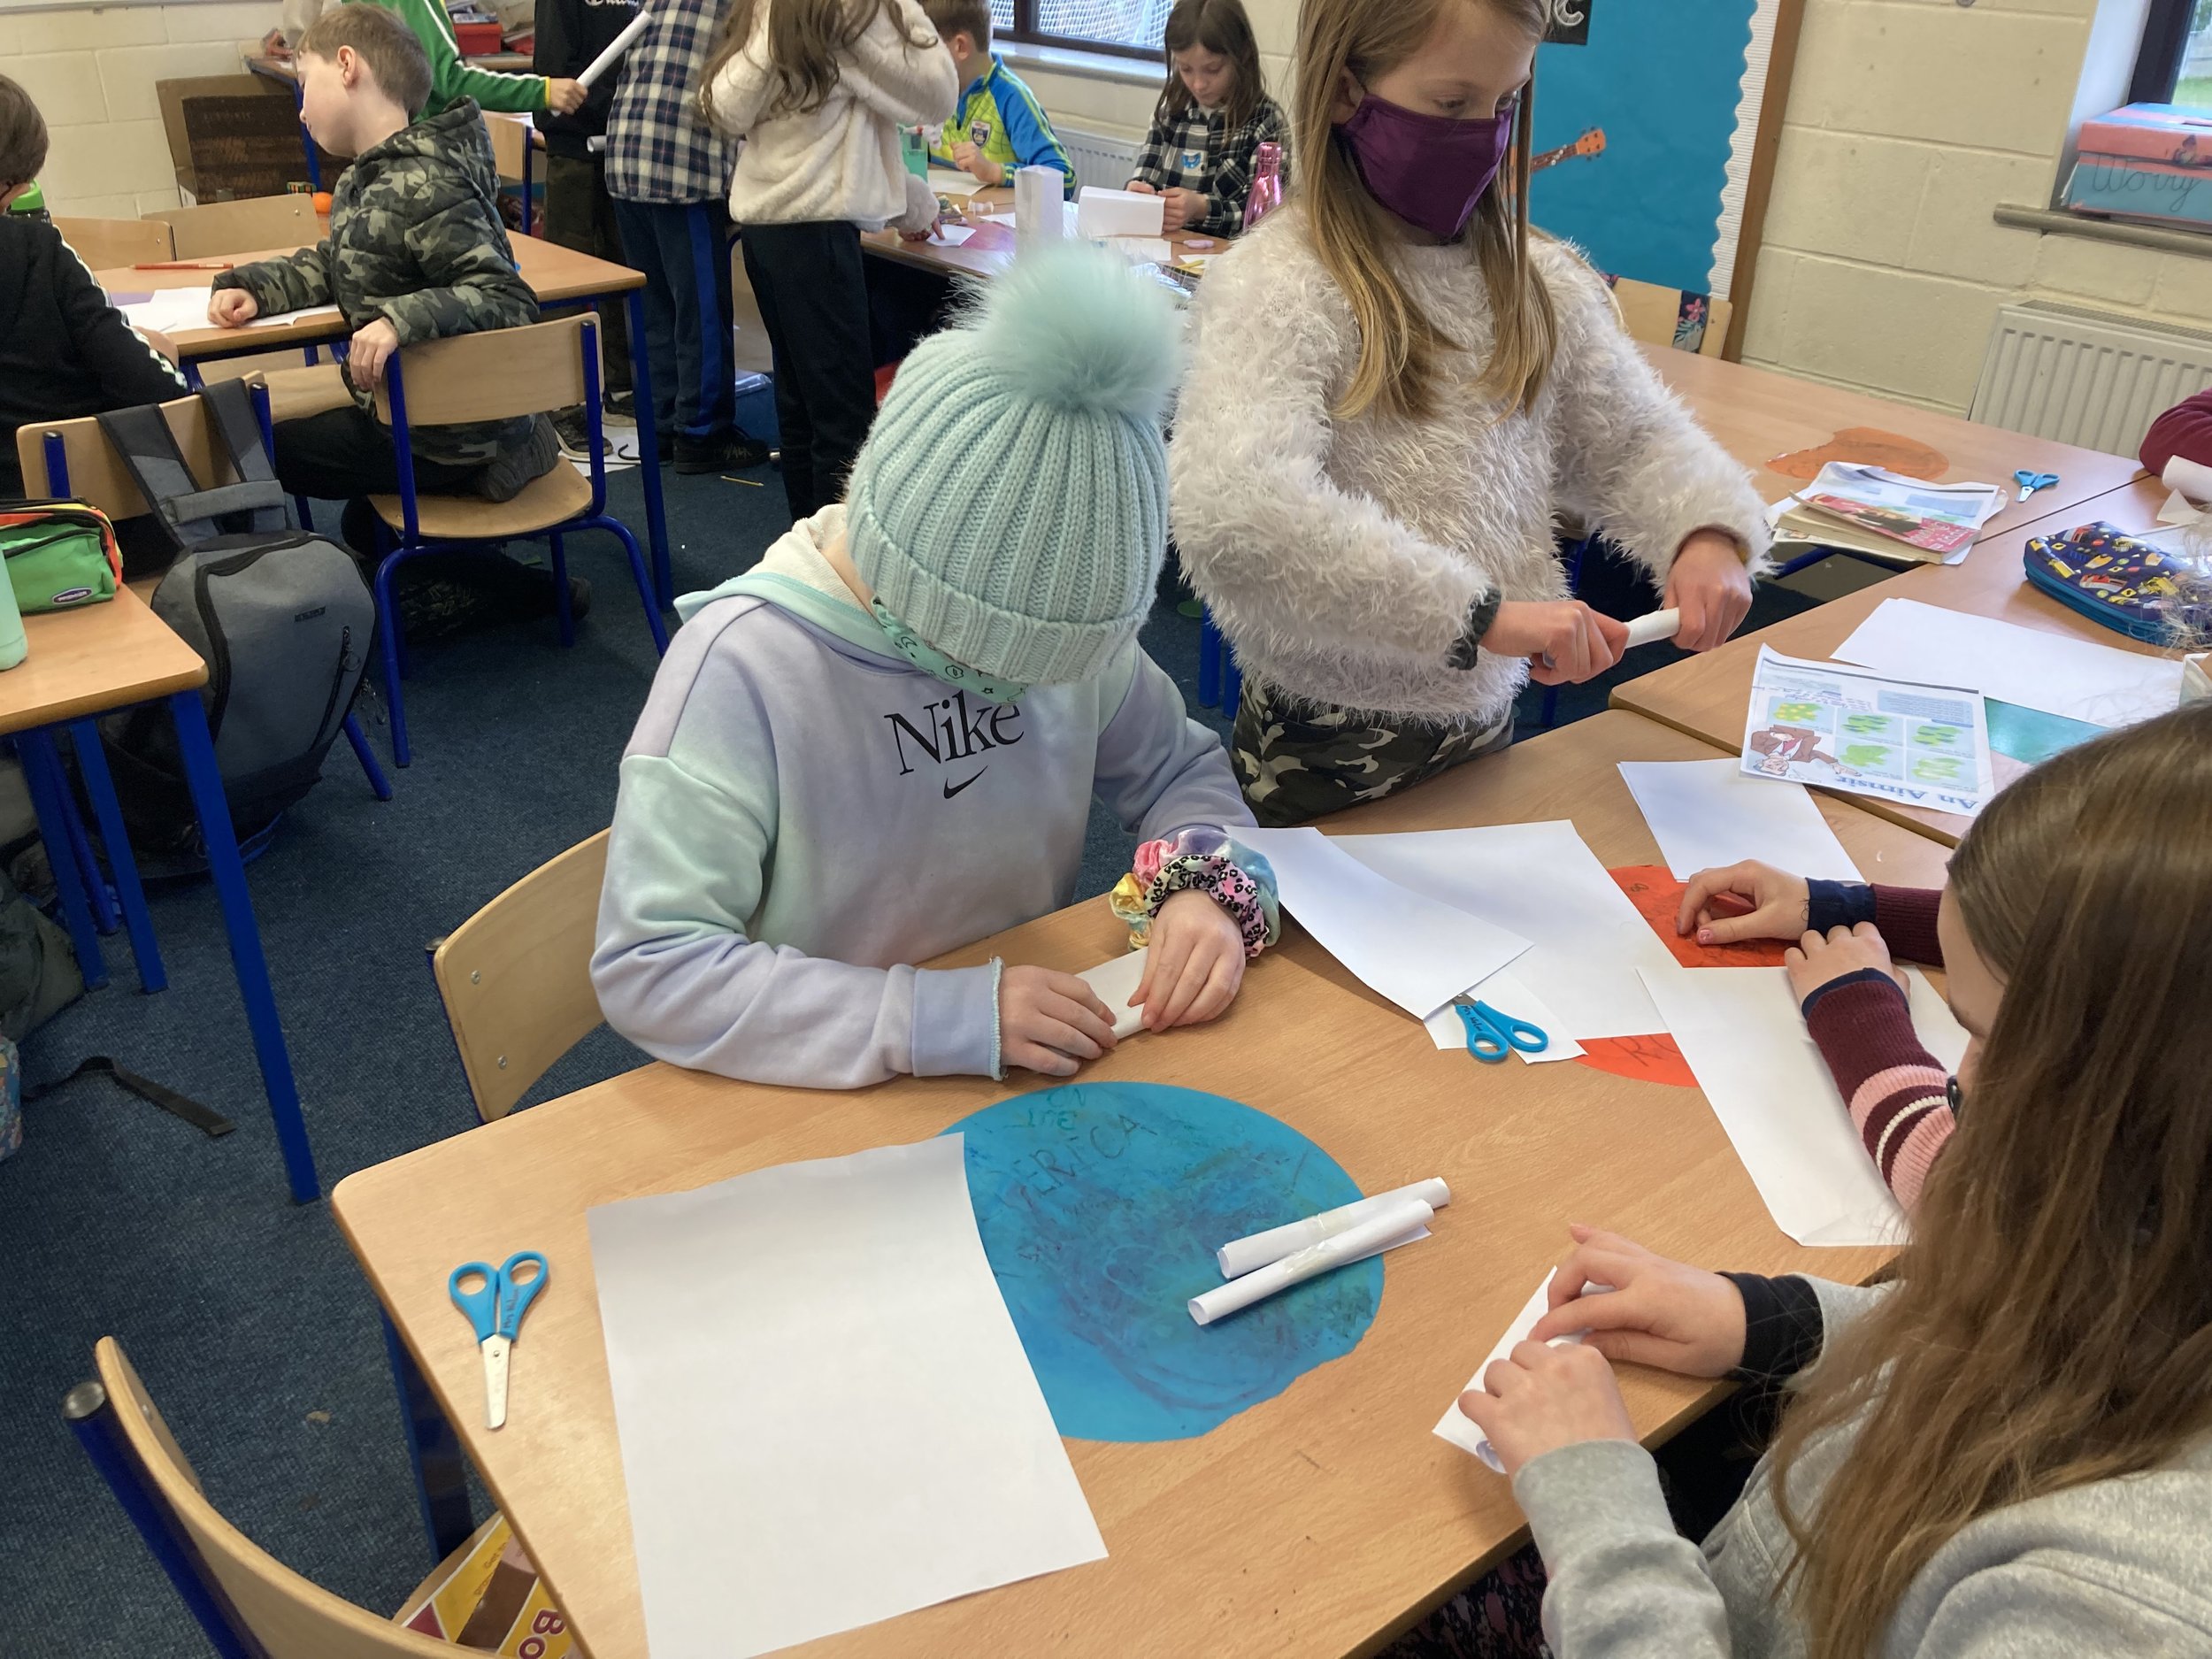
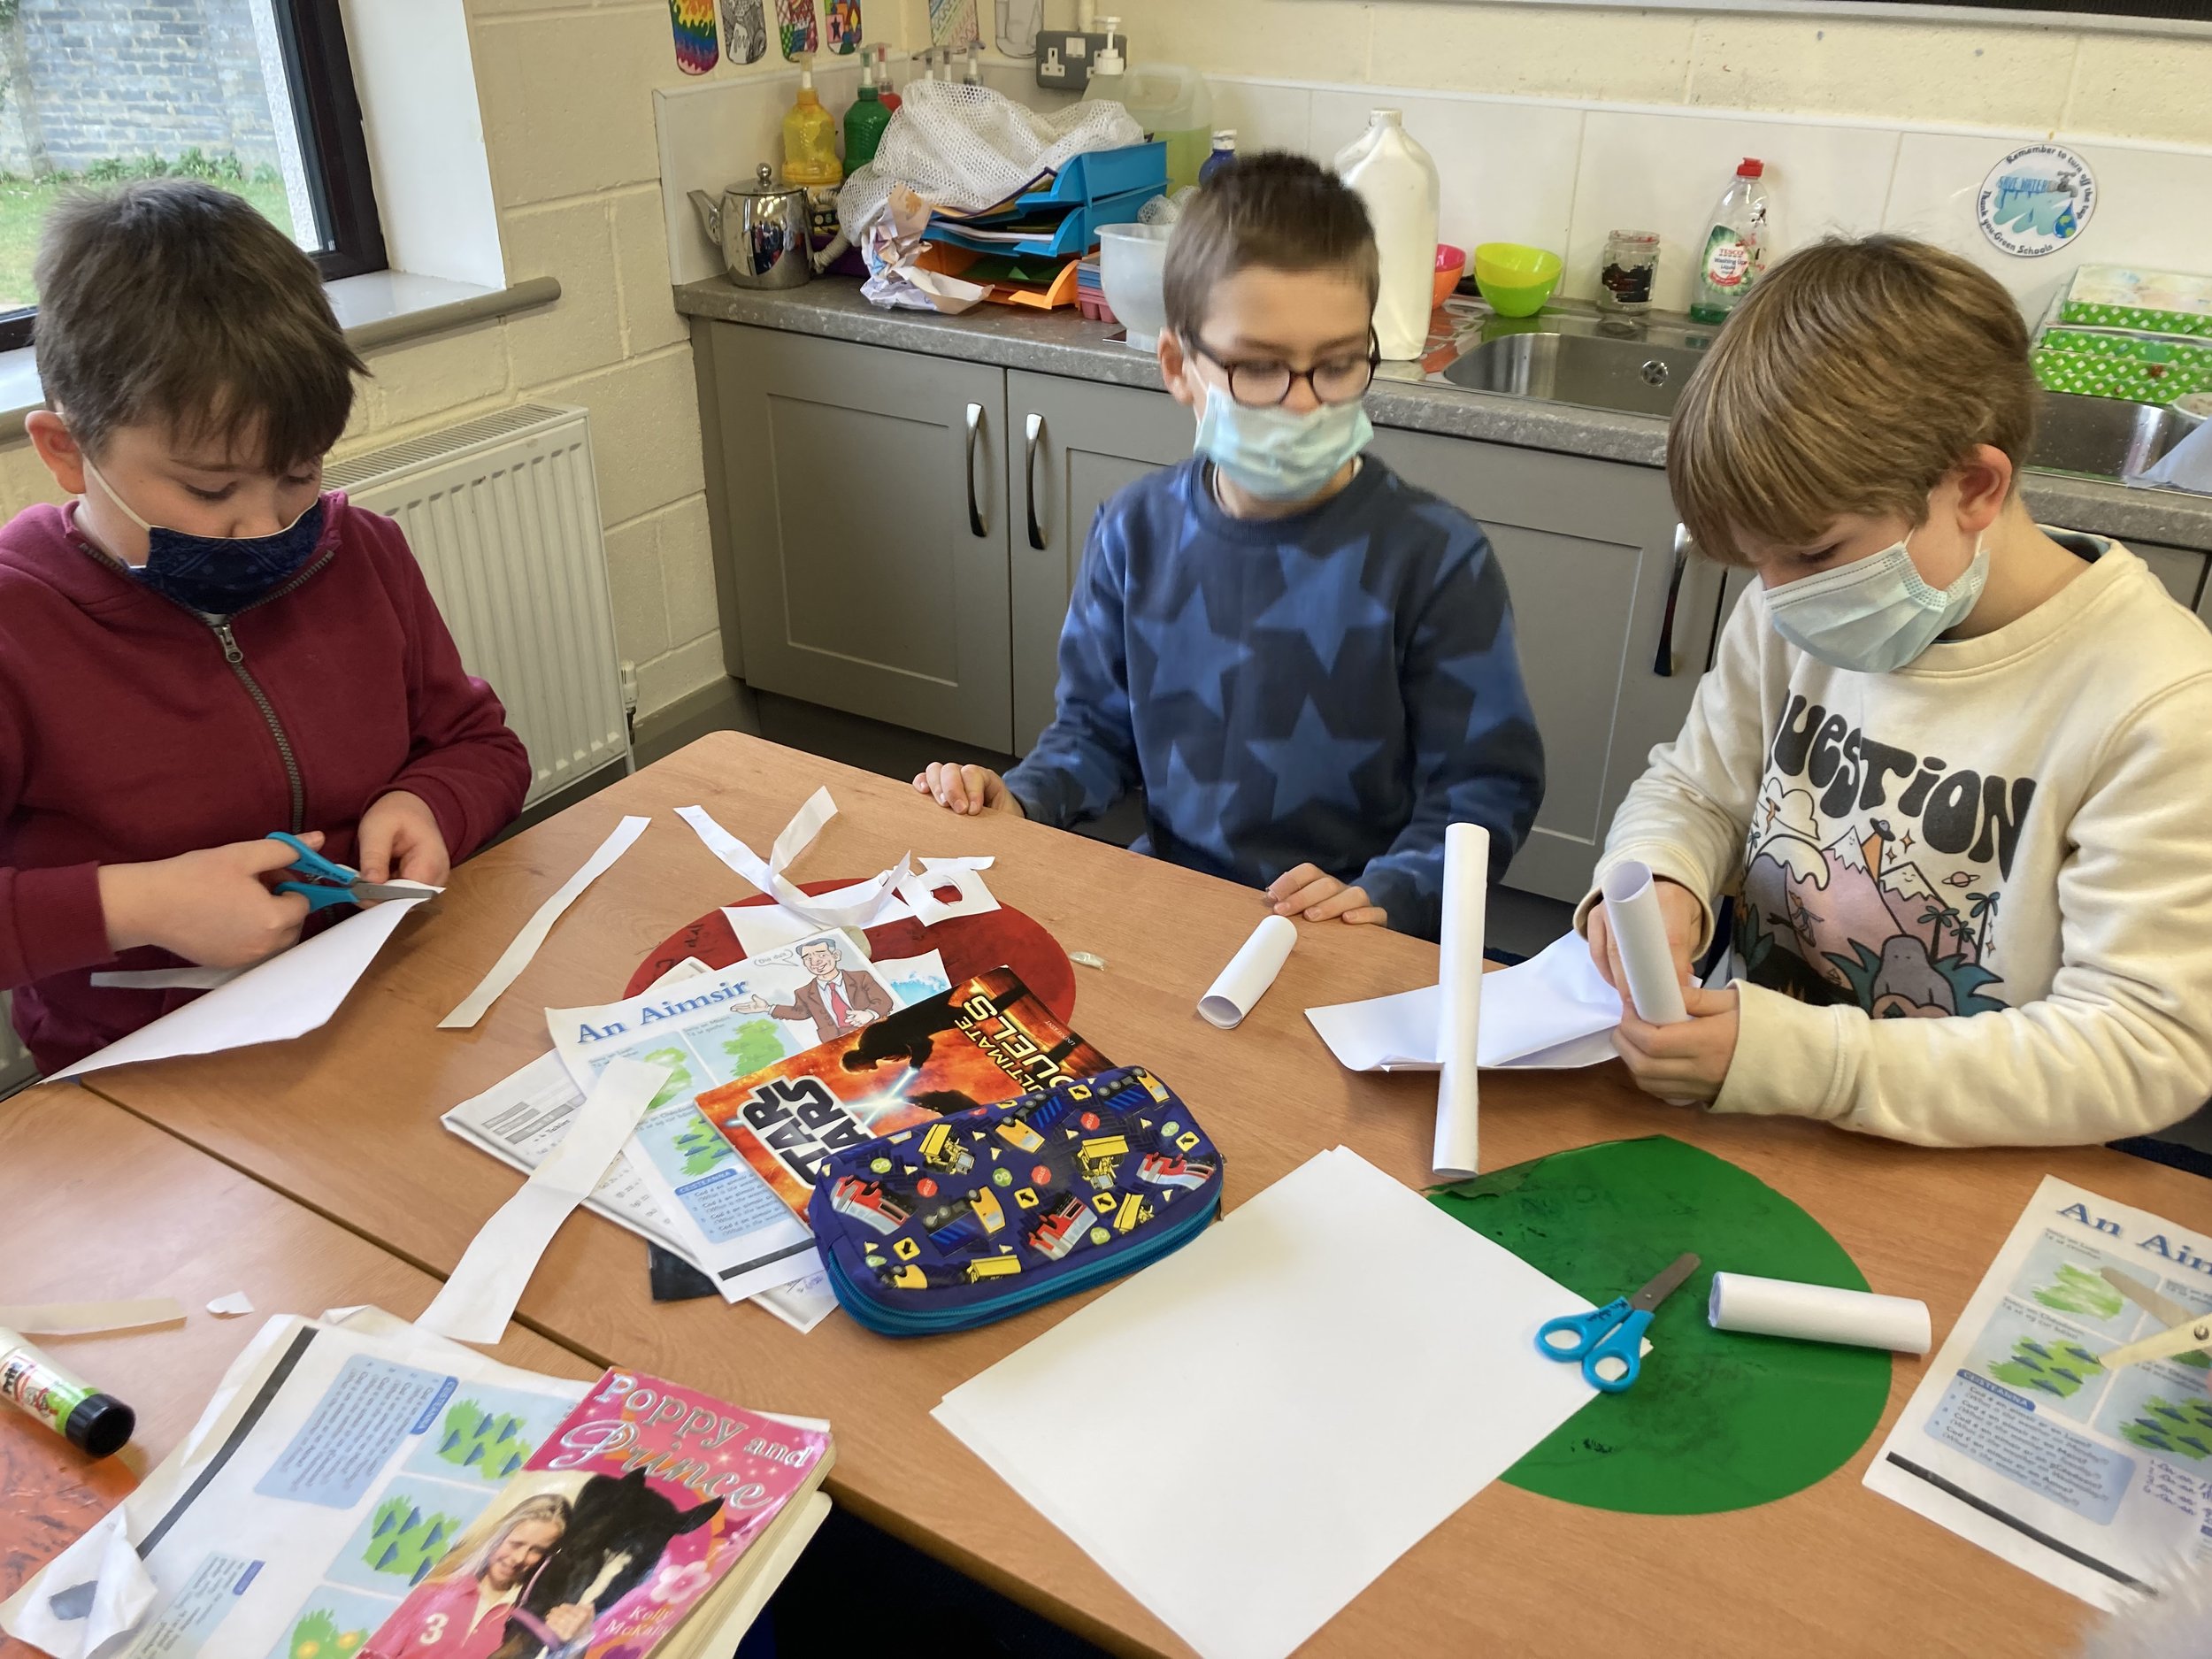
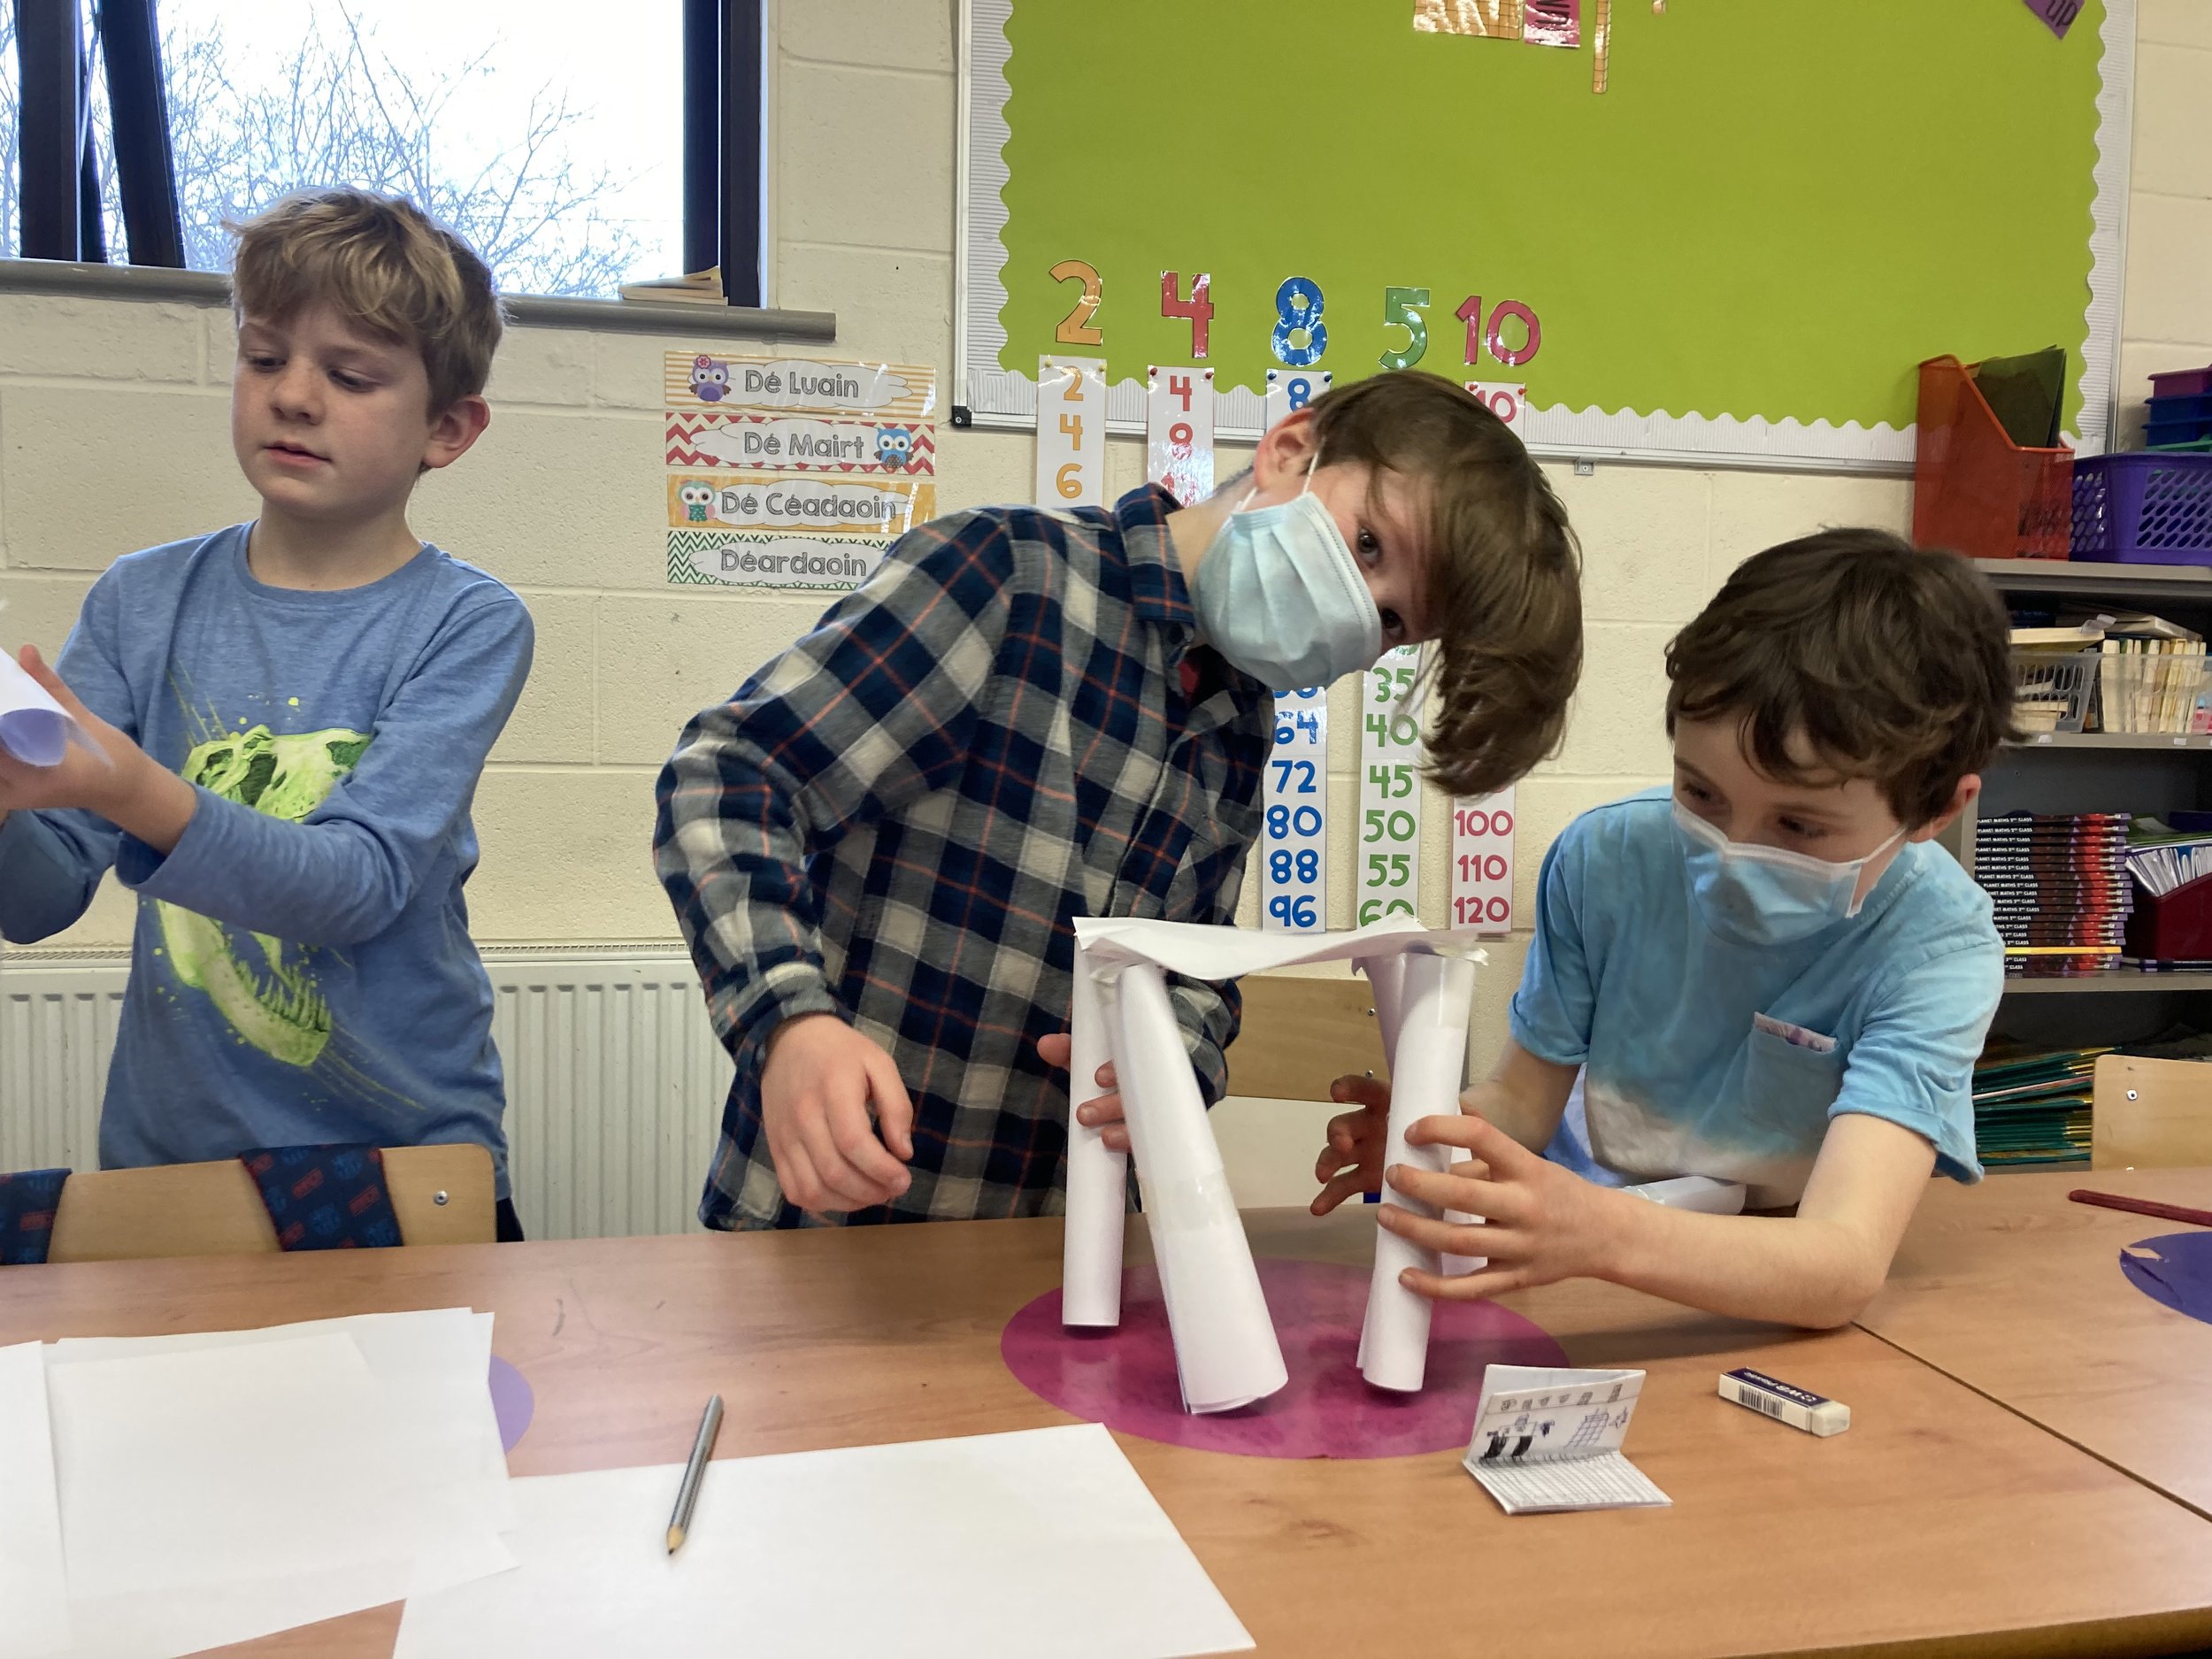
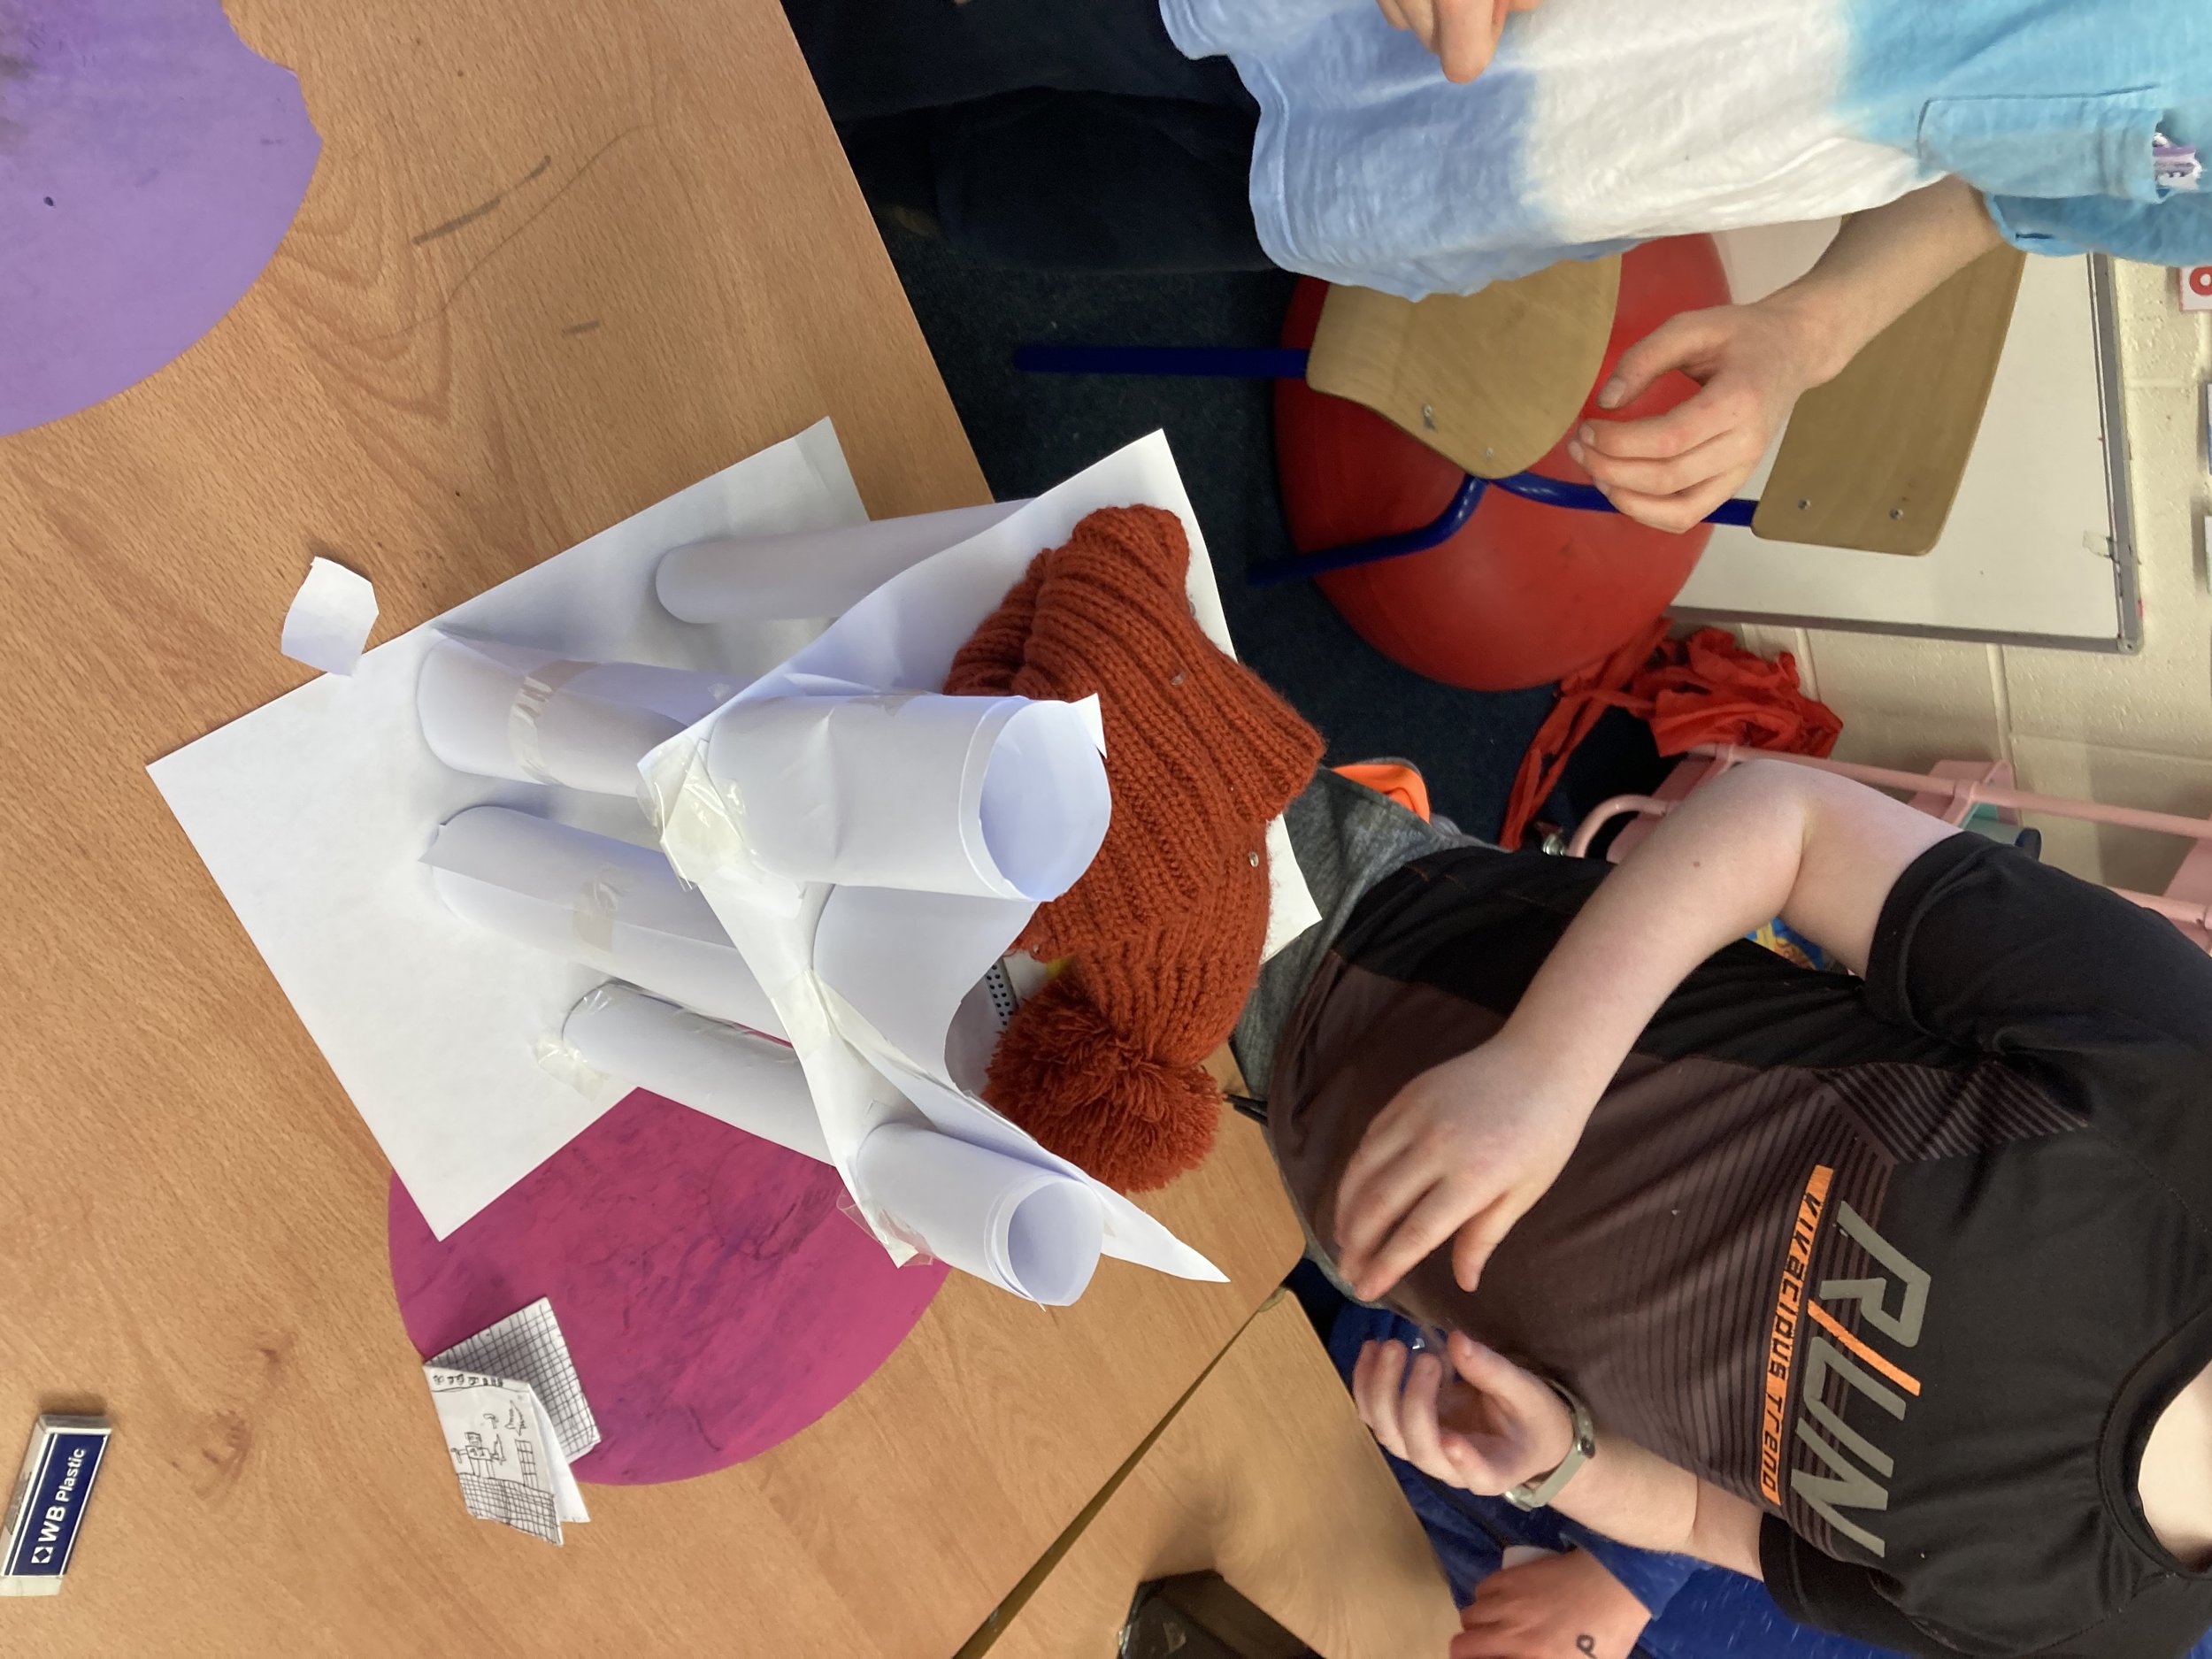
The children worked in groups with a minimum of one and a maximum of four and great team work was on display. Have a look at our test videos below:
As you can see, from our pictures and videos, we ran into some difficulty:
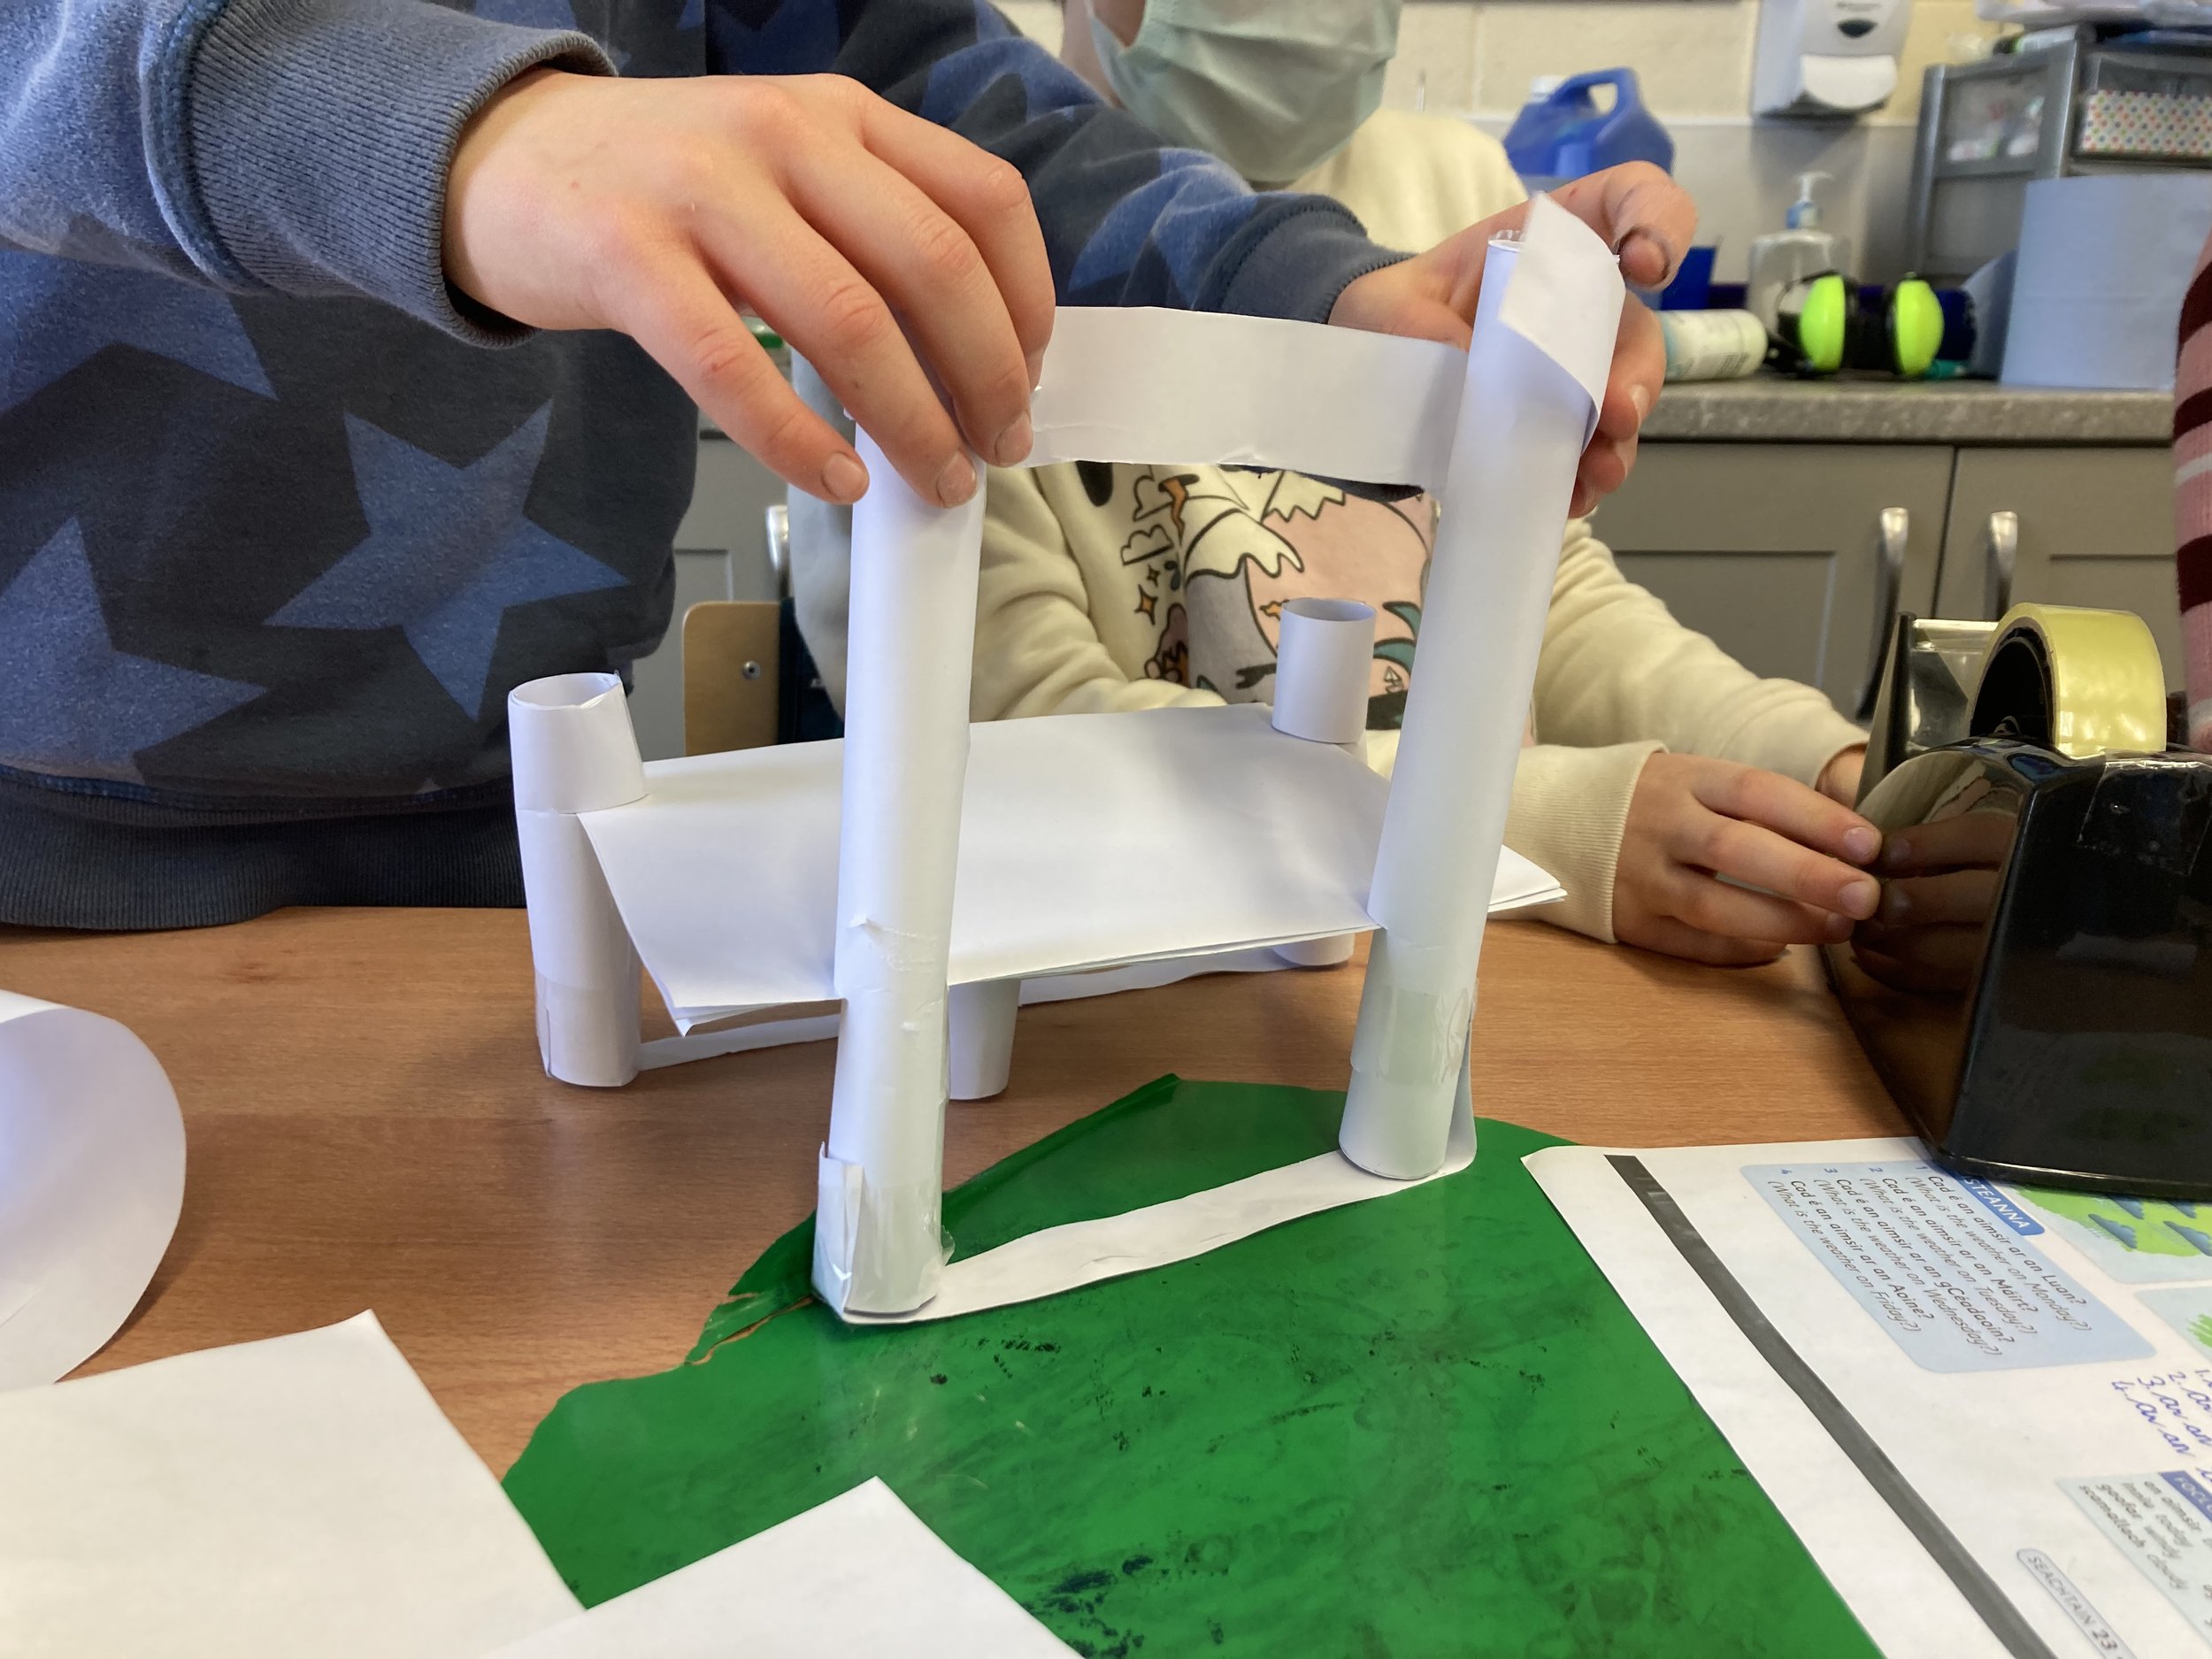
chair legs would split and move about unless we either selotaped them to the table or
stuck them to a full sheet of paper below or
joined them together using strips of paper


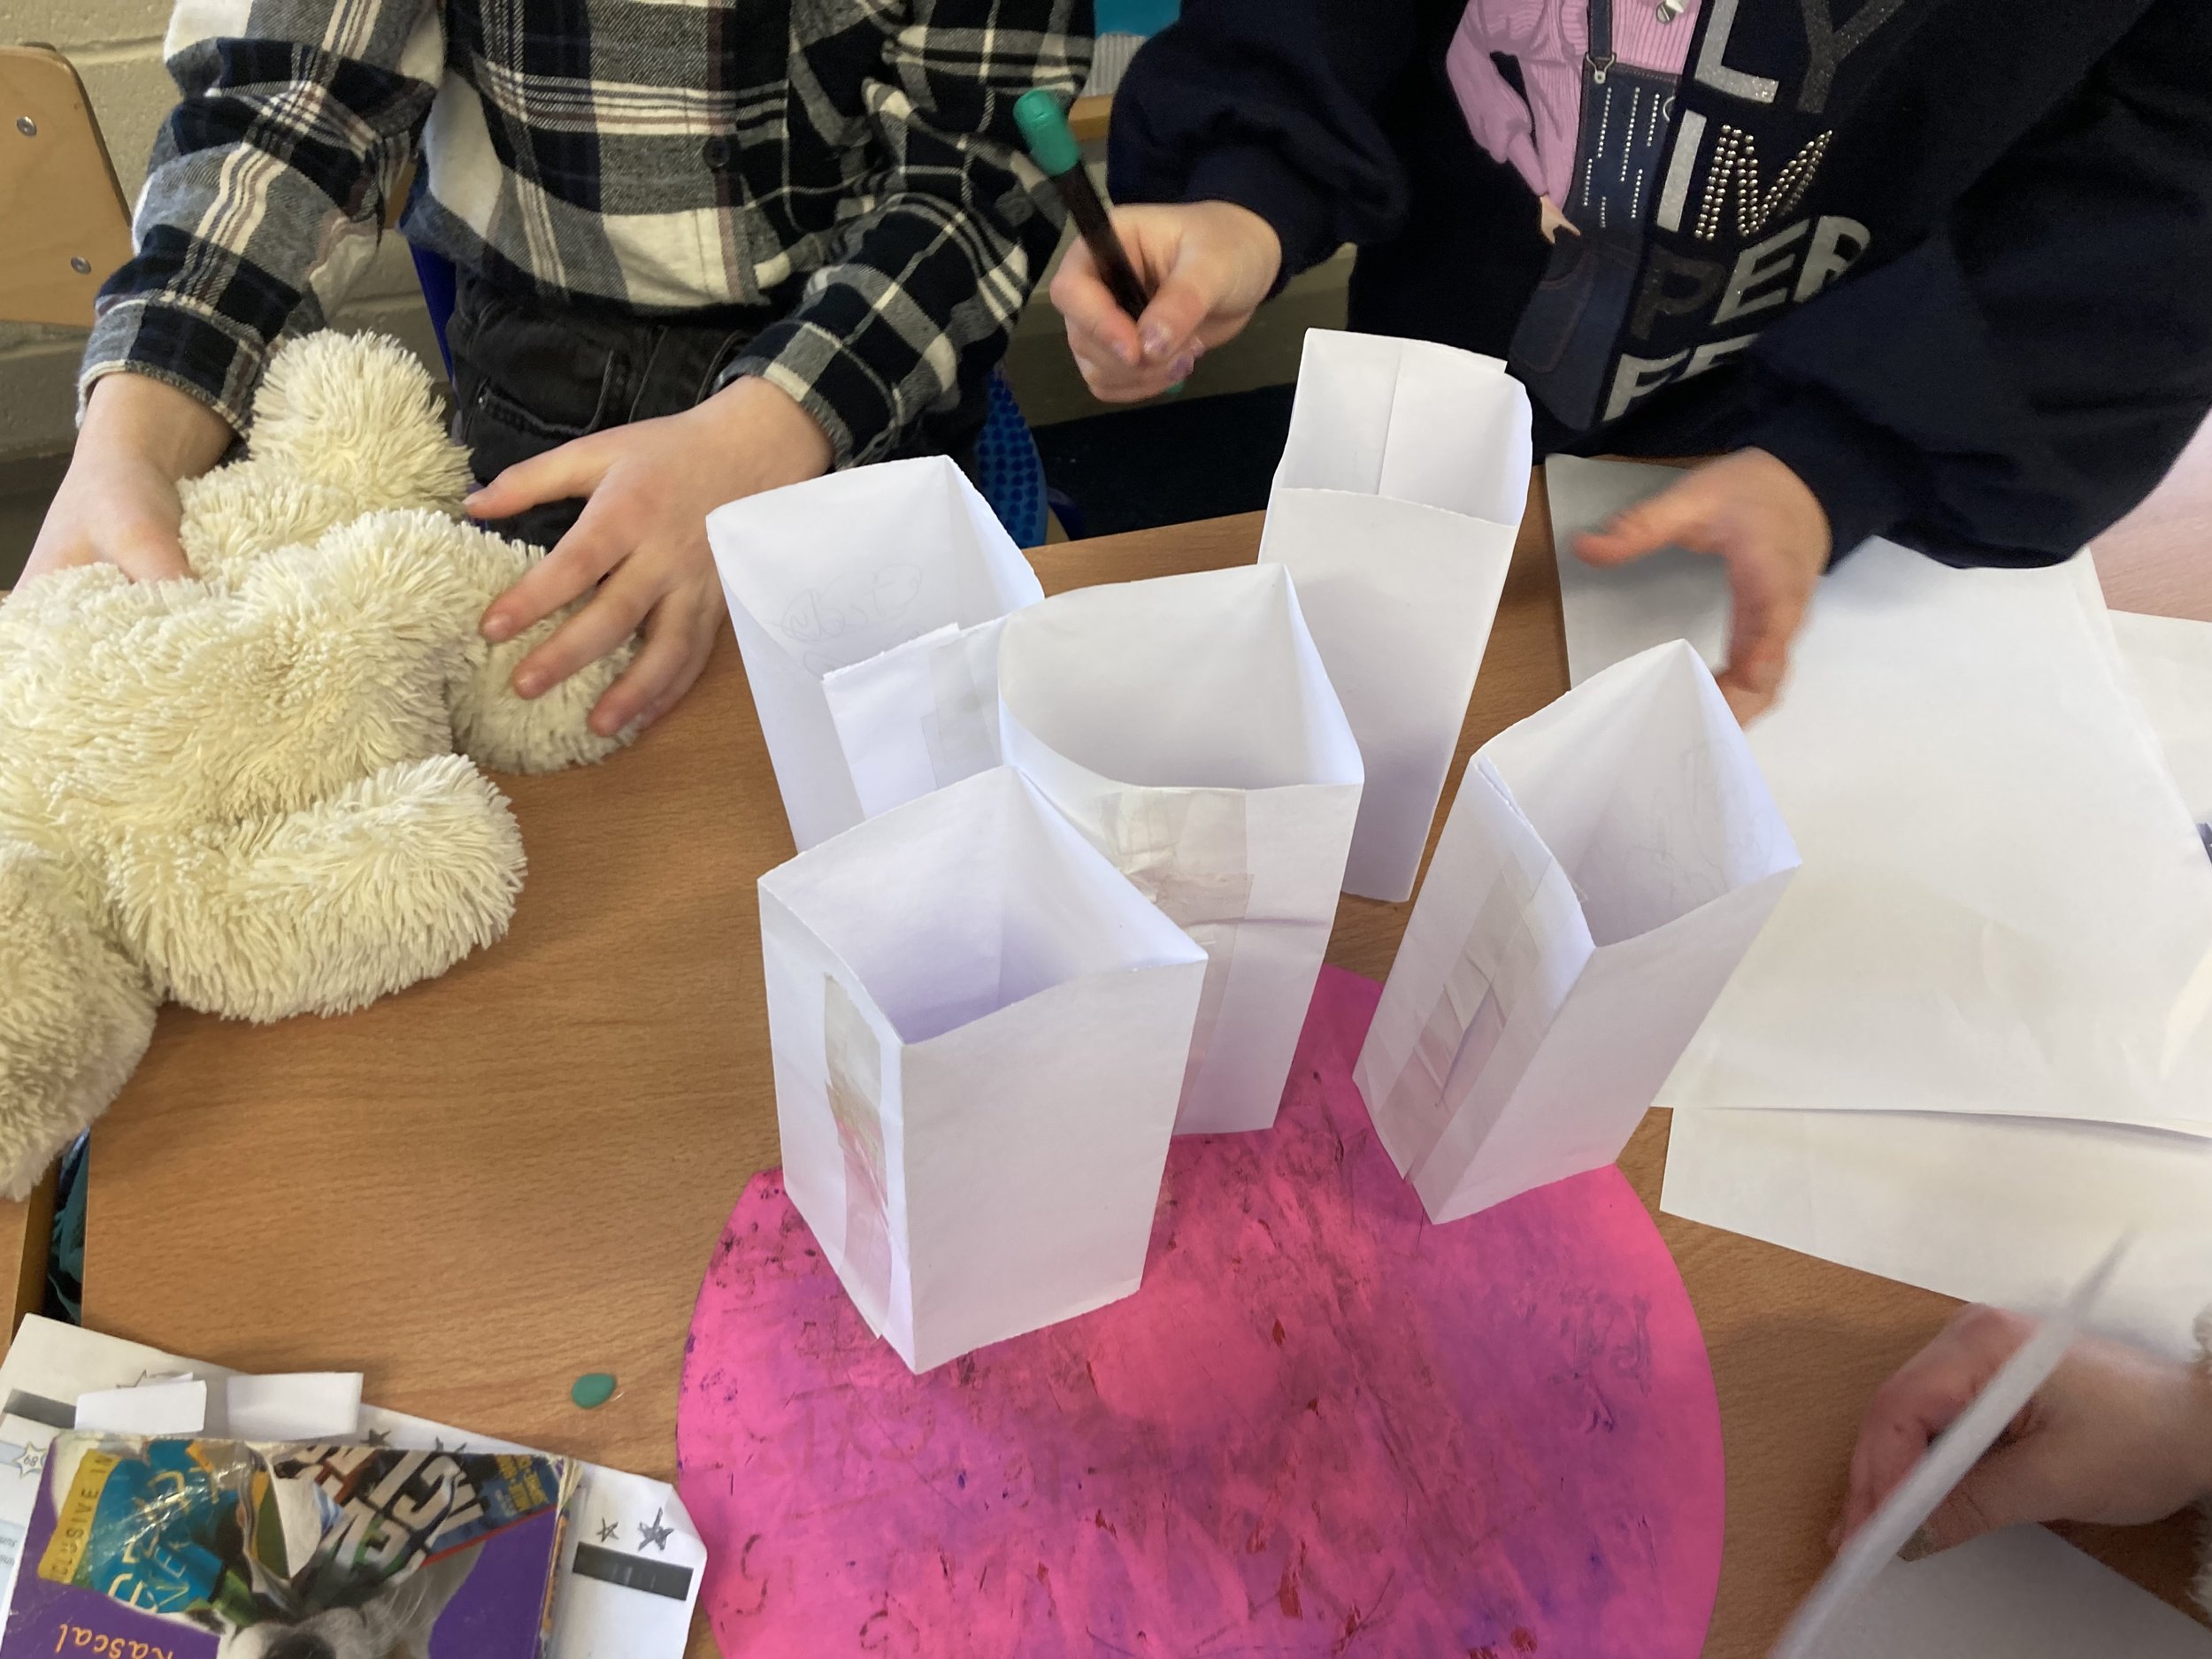
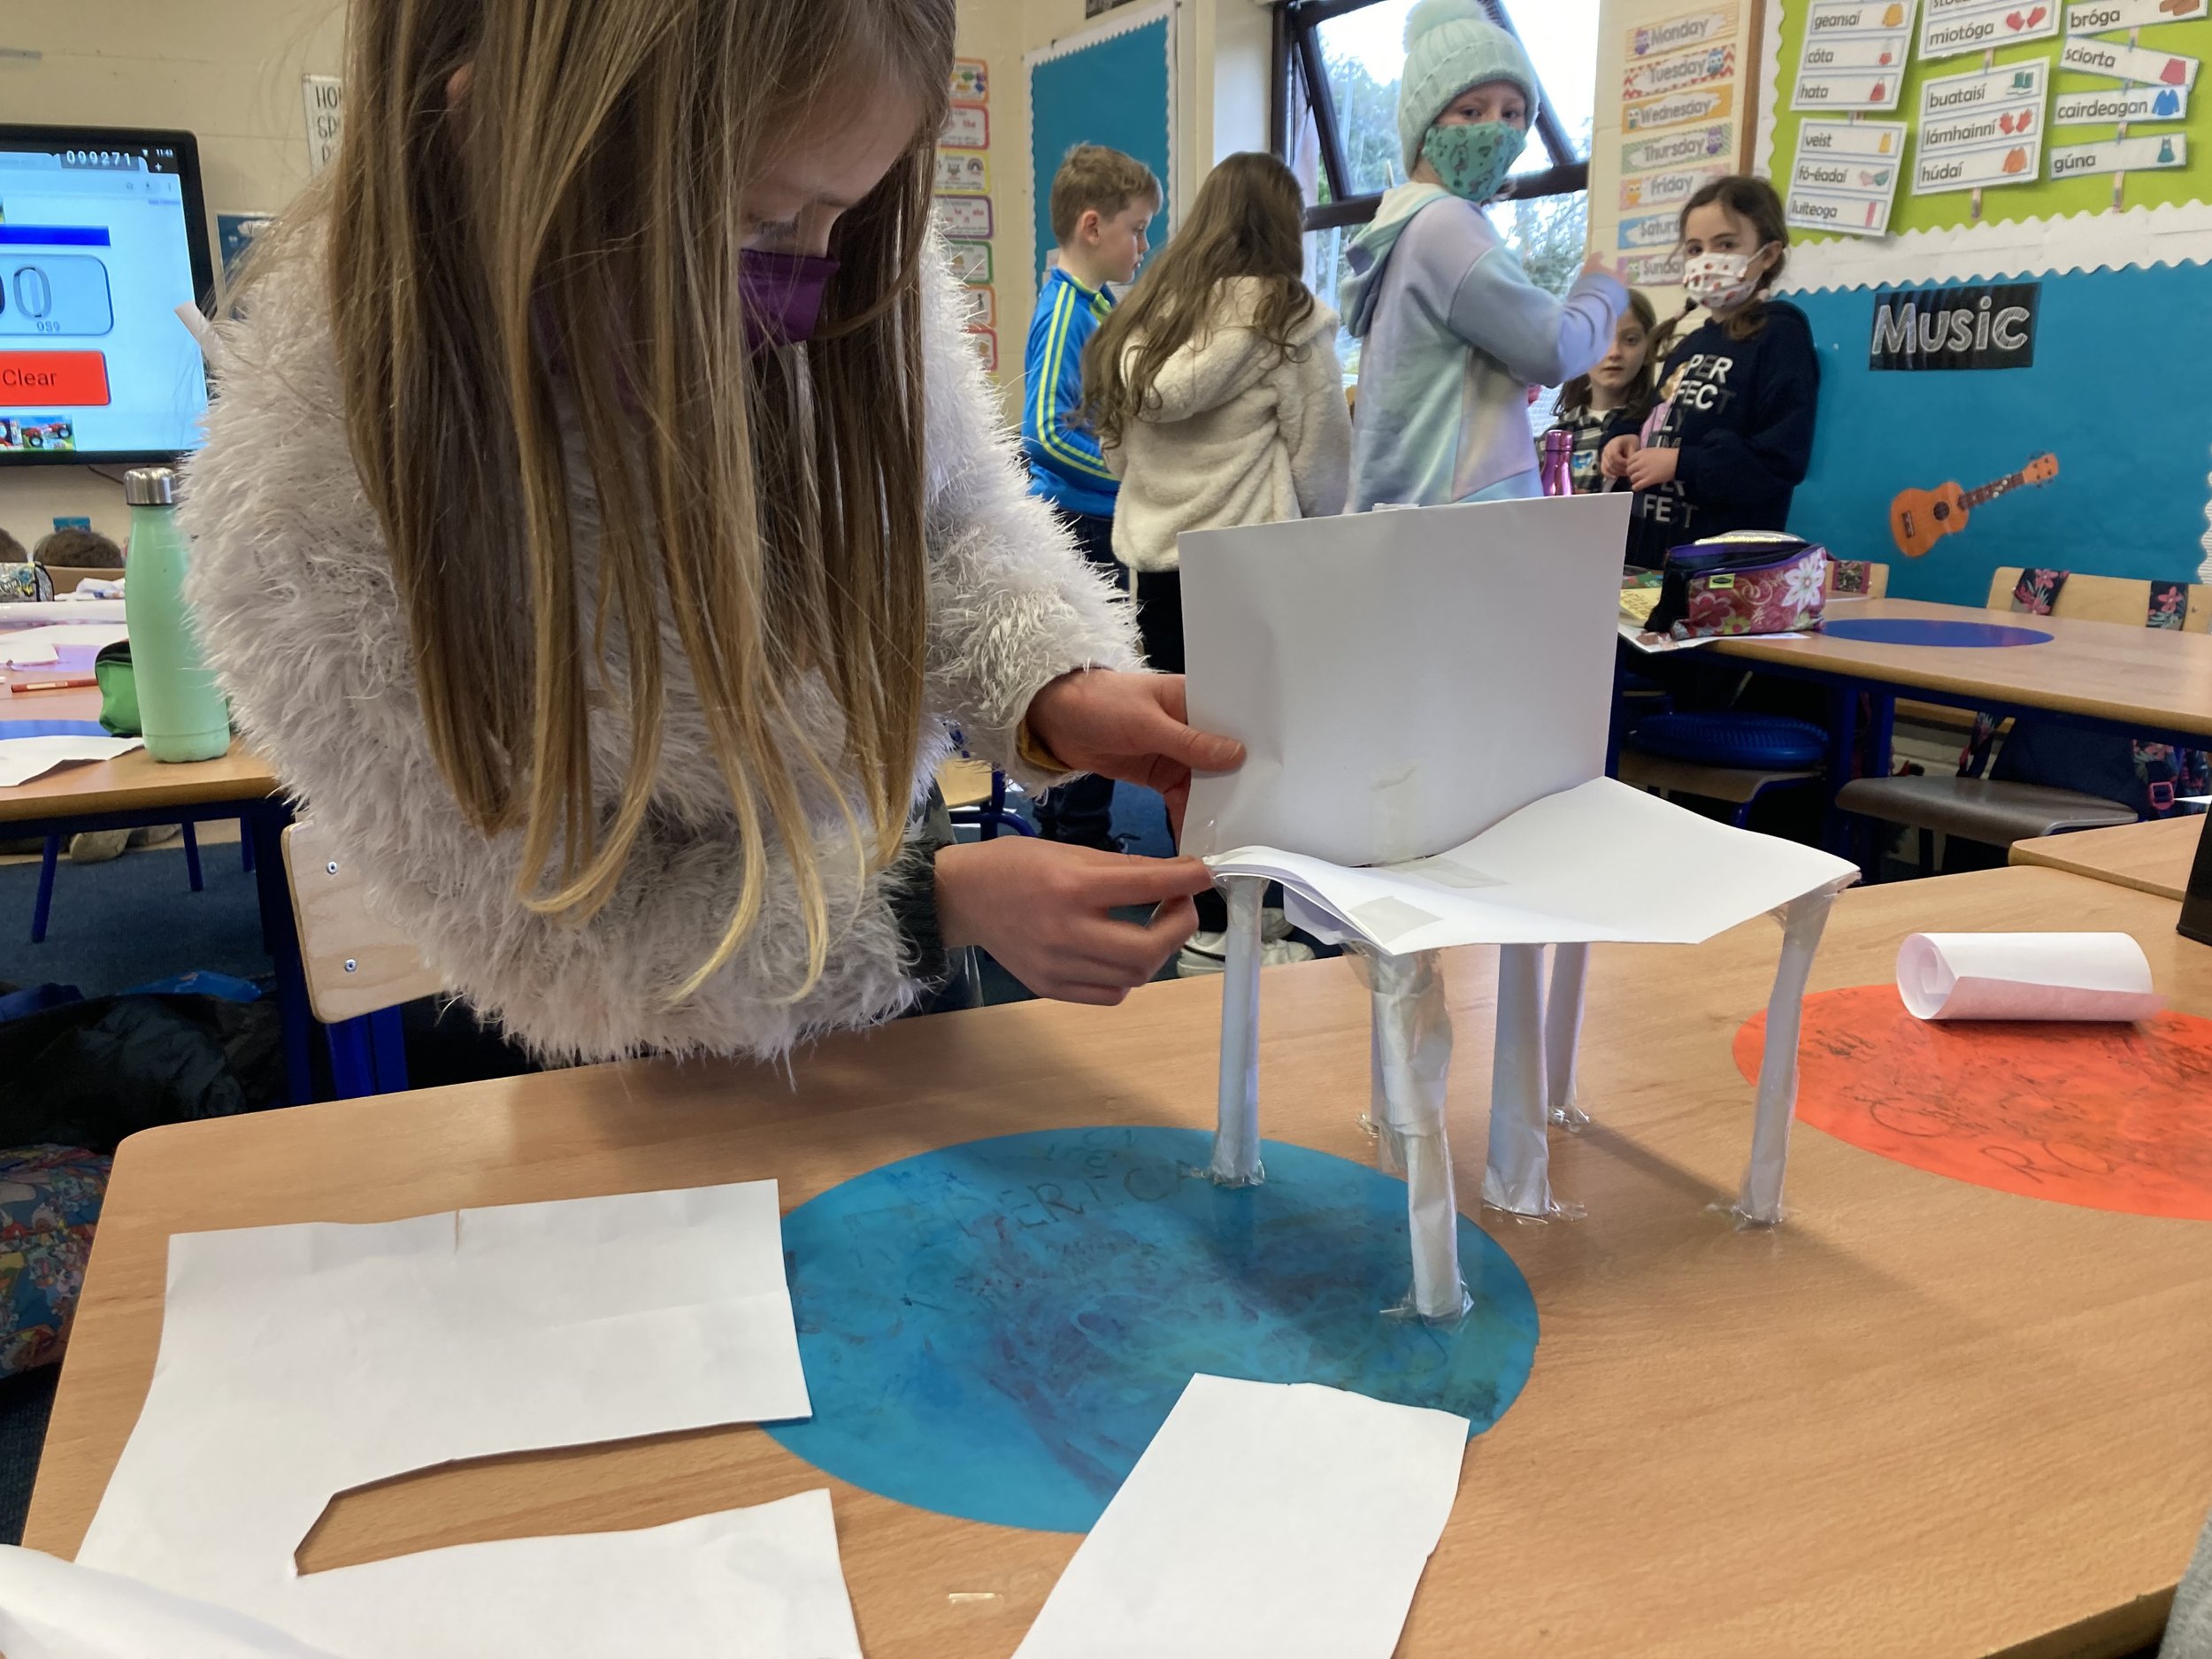
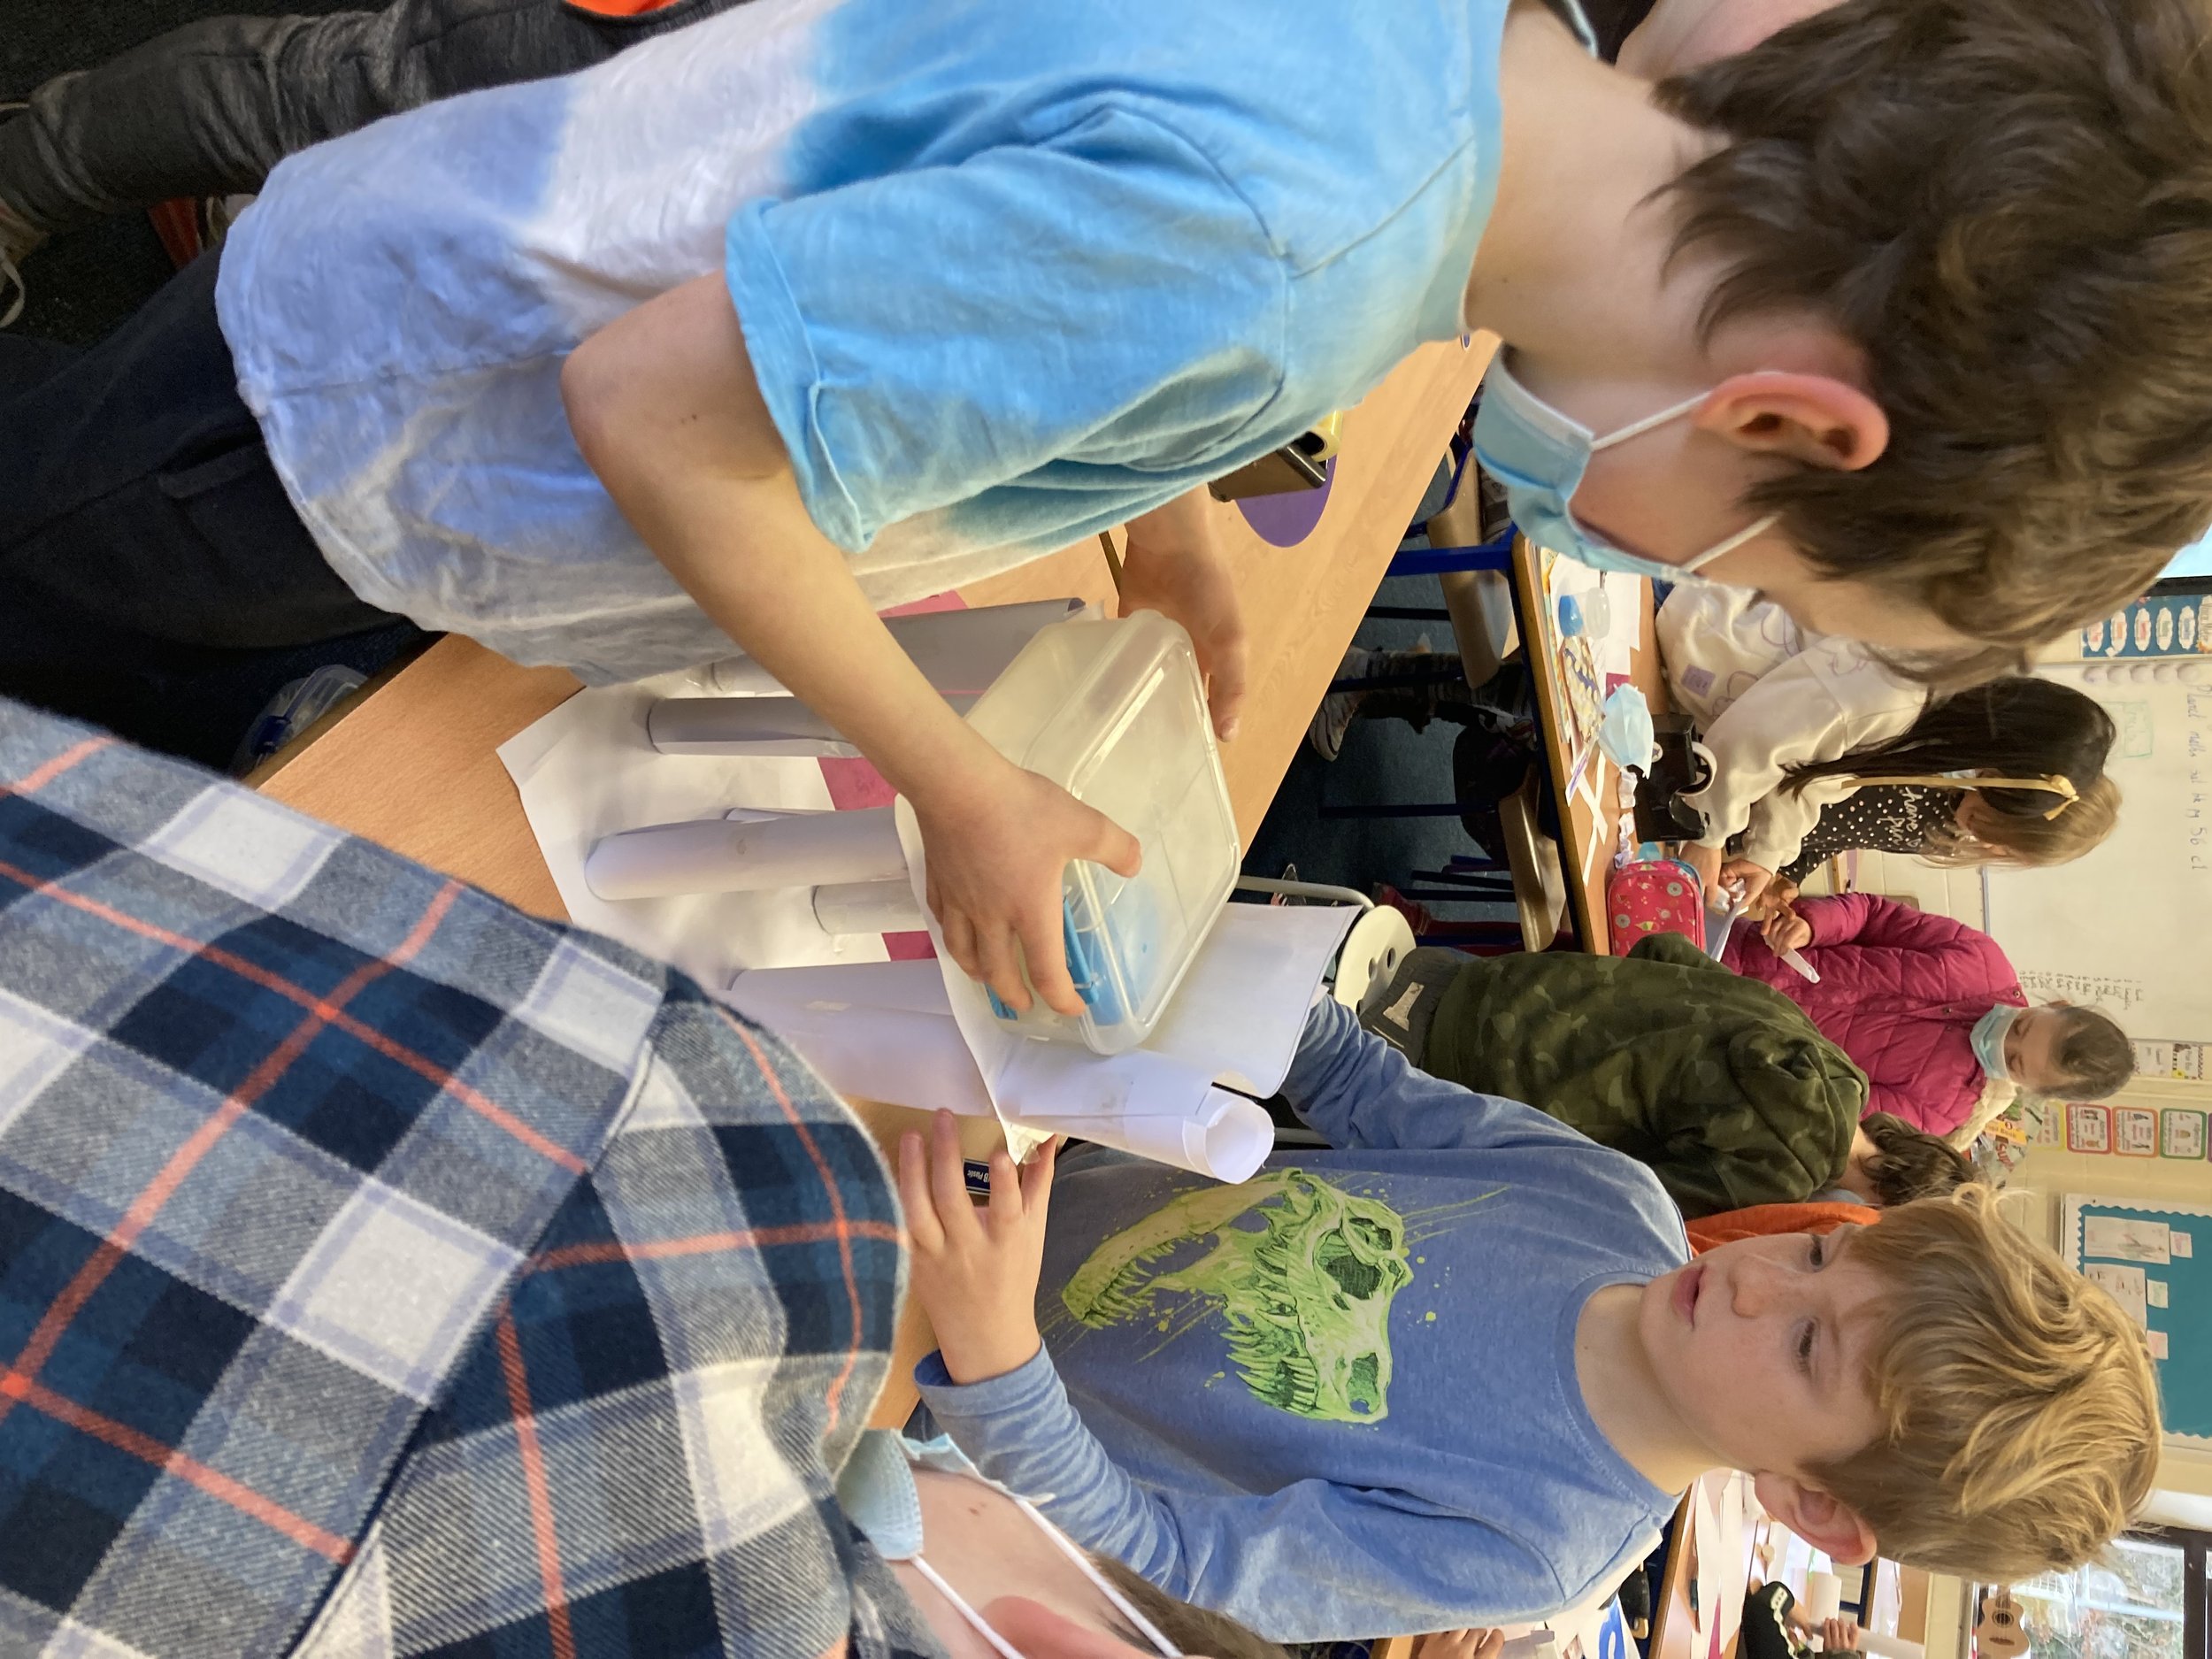
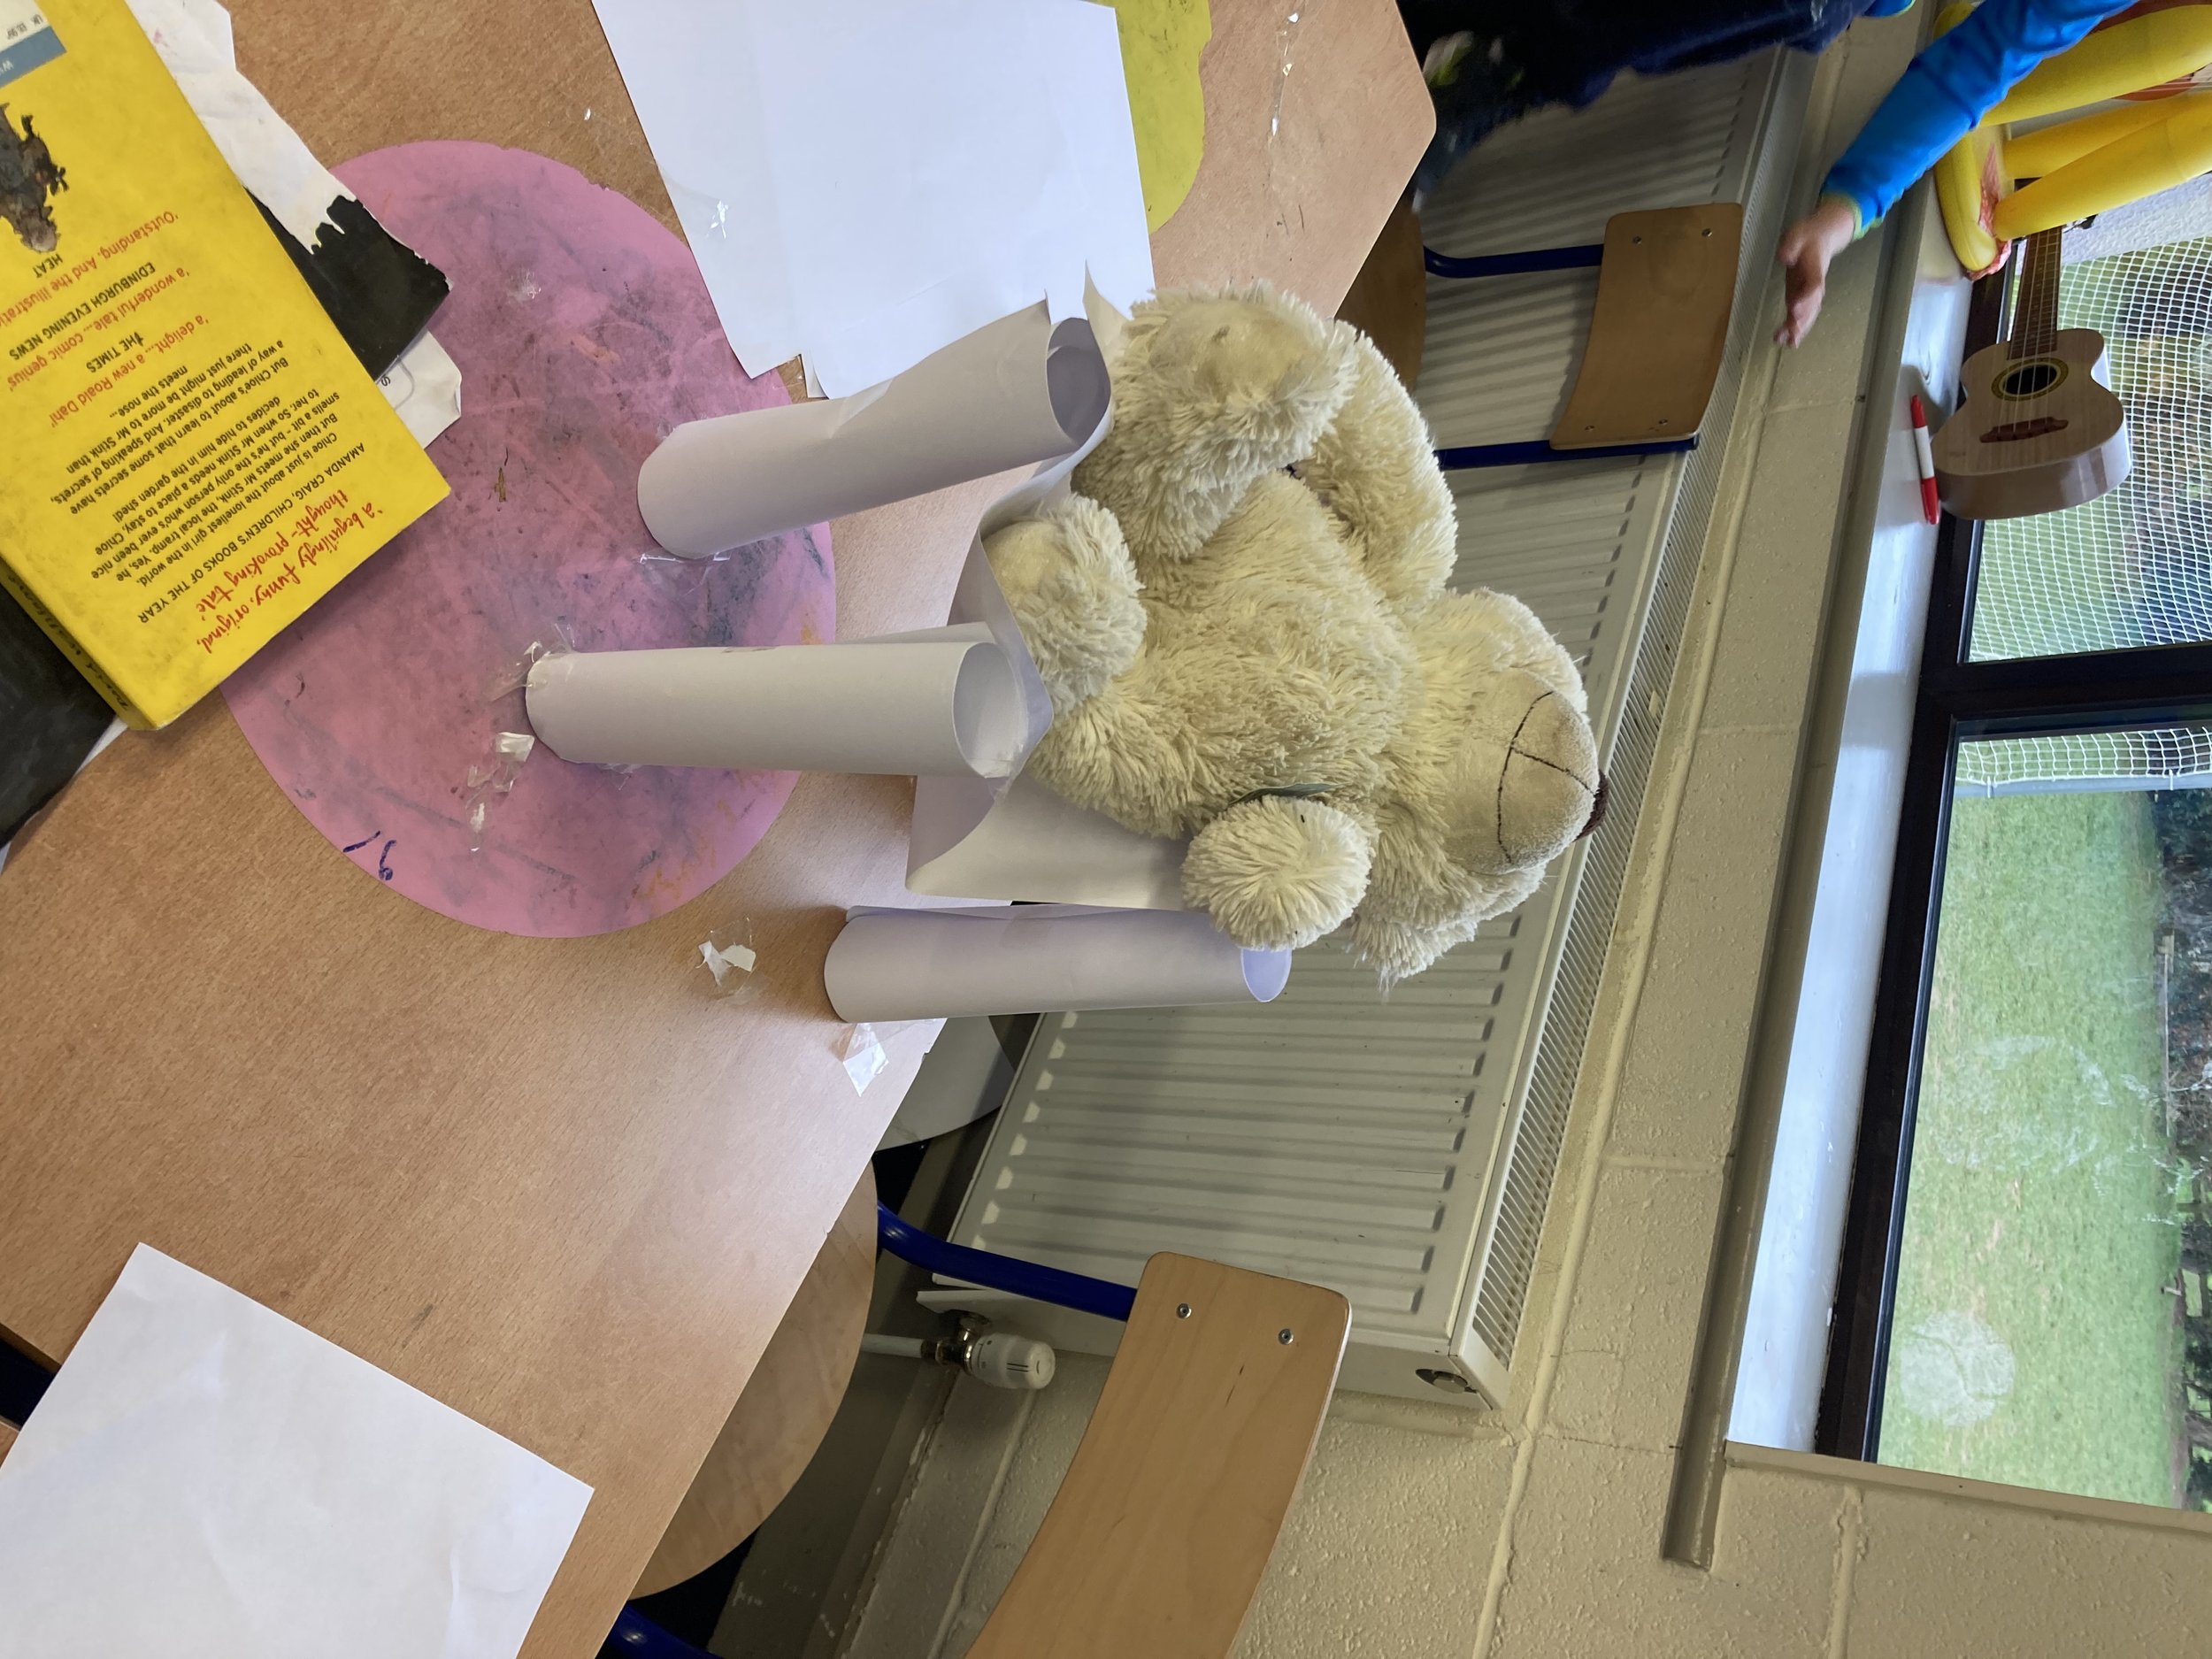
One of the groups explains their plan for this challenge. It was noted that the cylindrical chair legs were very popular among the groups. When we tested our chairs, we tested for 20 seconds to ensure the chair was sturdy enough to pass the test. Take a look at our resulting videos. Below the 2nd class boys were impressed with their creation which was able to hold a half-filled lunch box.
One of the groups also decided to use rectangular prisms for the legs, noting the strength and stability the square base provided.